Save yourself time! Addressing envelopes—especially for mass mailings—can be time consuming and a total bore. However, most printers can print envelopes and doing everything on the computer can save you lots of stress and time. With a few simple steps, you can cut down the time it takes to send out your mailings with a mail merge!
Step 1: Setting Up Excel Document
Every mail merge starts with an excel document. Properly set up your excel, and you’ll already be golden. Set up is as easy as putting each line of the envelope is in a separate column.
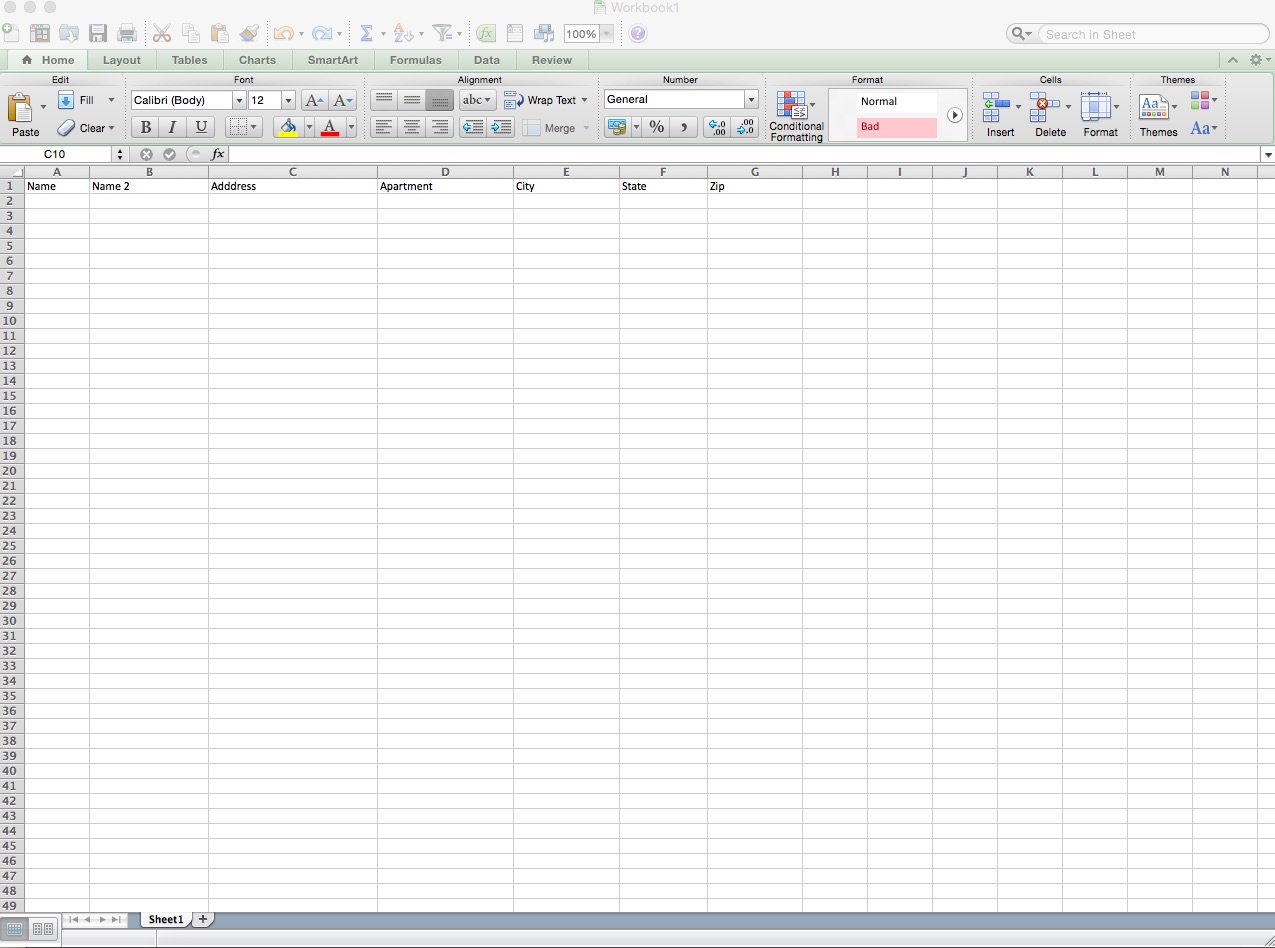
Some people like to keep the City, State, and Zip all in one column, but best practice is to separate them. This is so you don’t have a comma in the excel document, which will make formatting for international addresses in the merged file easier.
Now you can add in you addresses
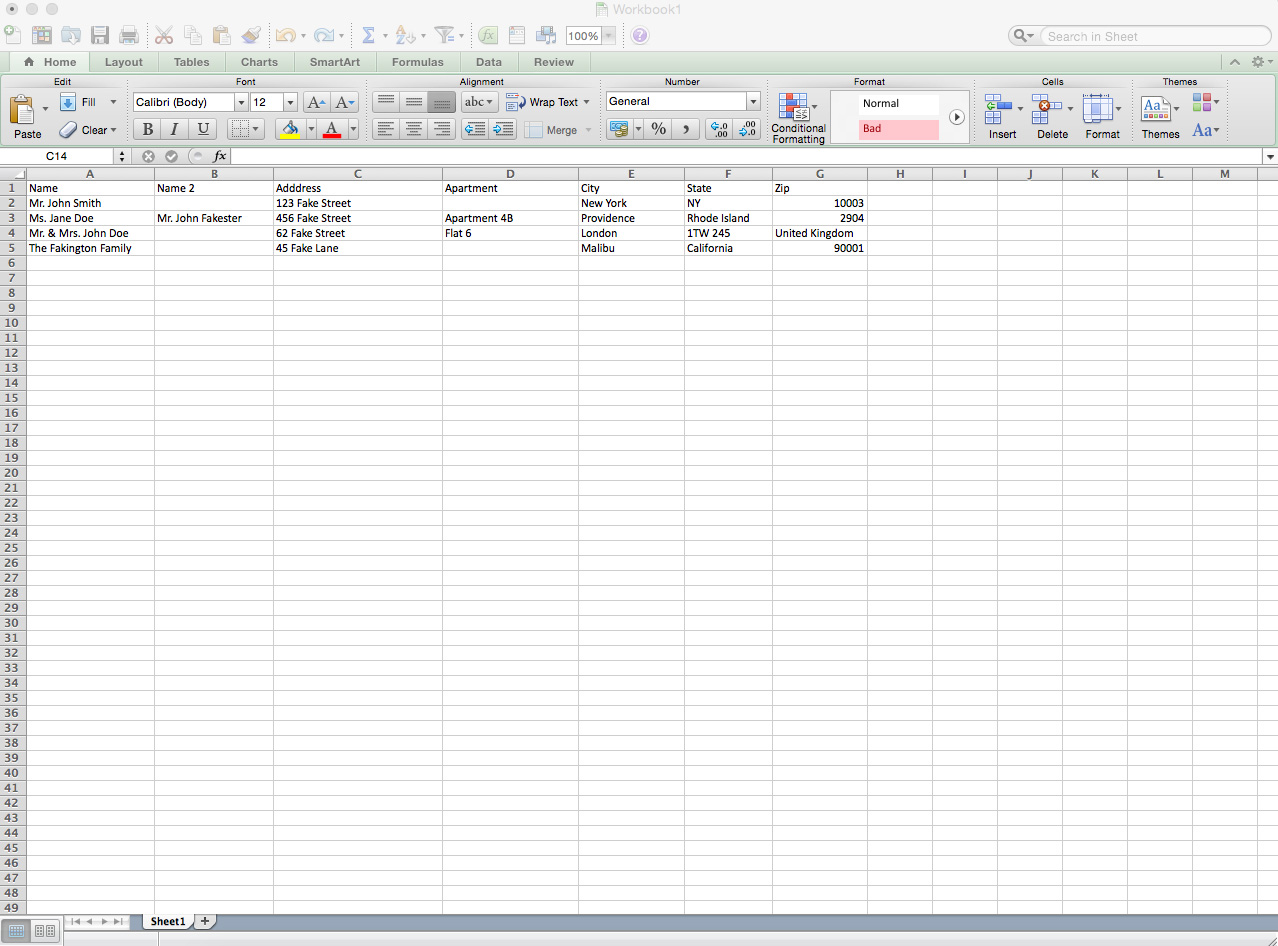
It’s okay to leave blank spaces in the fields because InDesign or Word will account for blank space in the mail merge and leave them out.
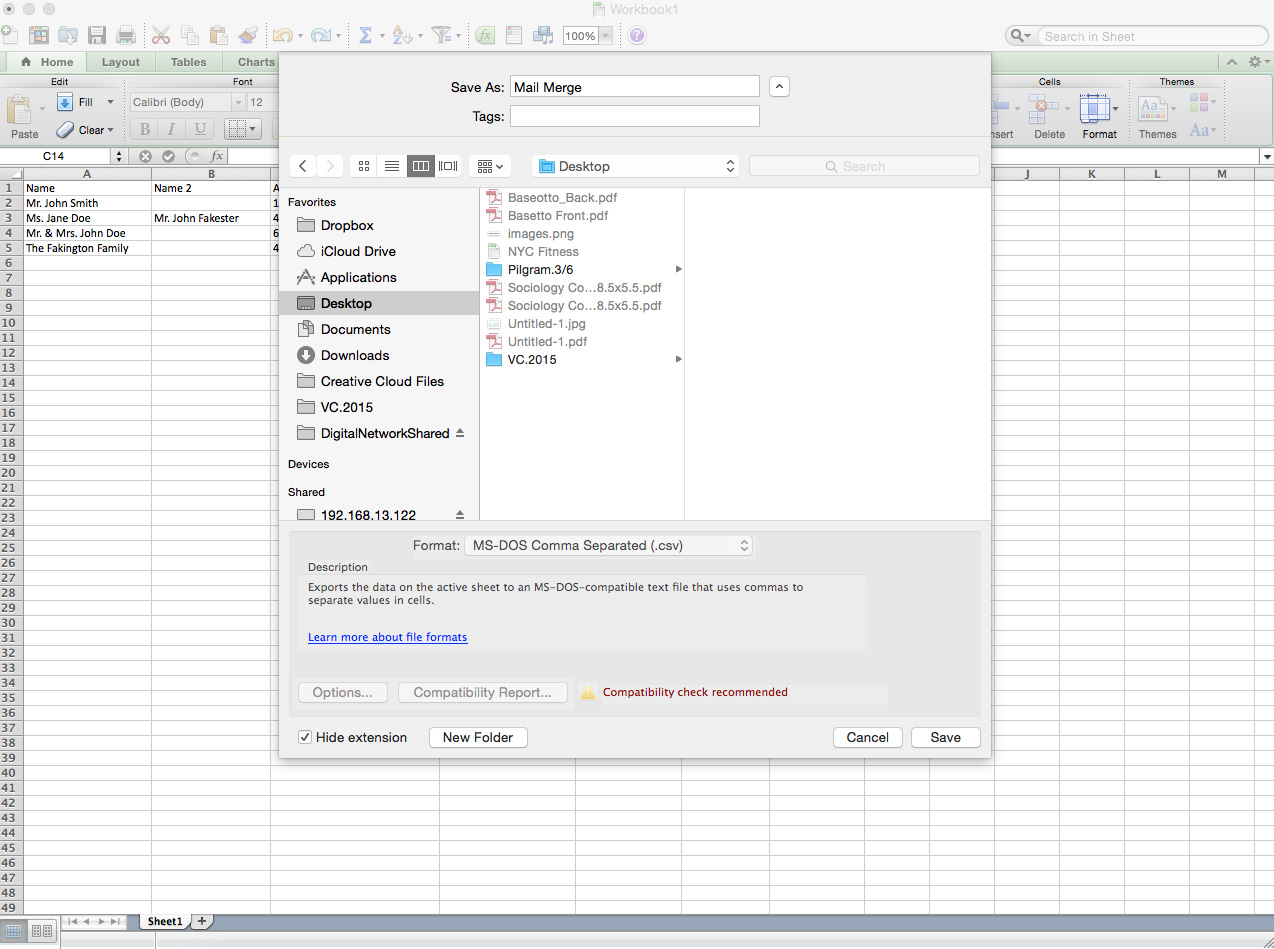
Once all your addresses are input in the excel, it’s time to save. Save your document as an MS DOS.csv file.
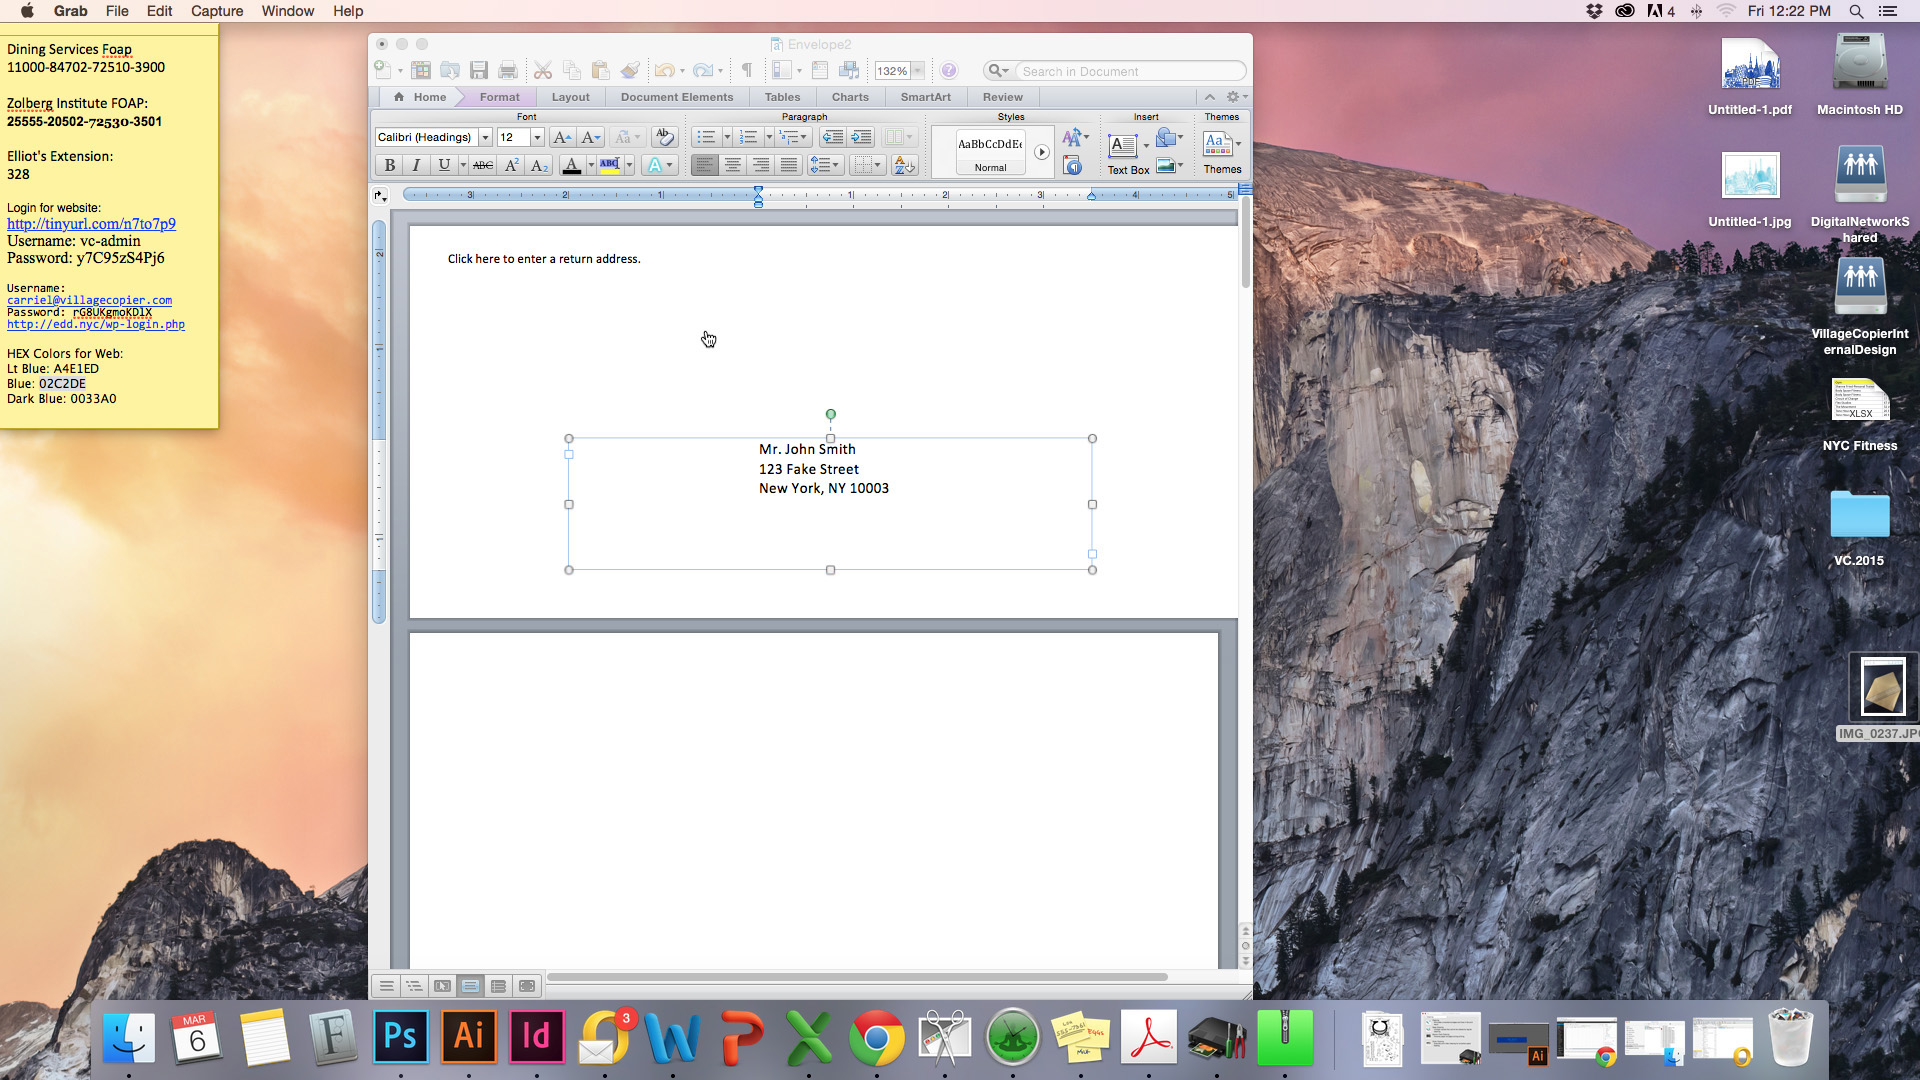
Now before you create your mail merge document in Word or InDesign, you need the measure your envelope.

Your printer determines whether or not you need the measure the envelope open or close flap. My printer prints with an open flap. Now you’re ready to create your mail merge document!
Creating a Mail Merge in InDesign
Step 1:
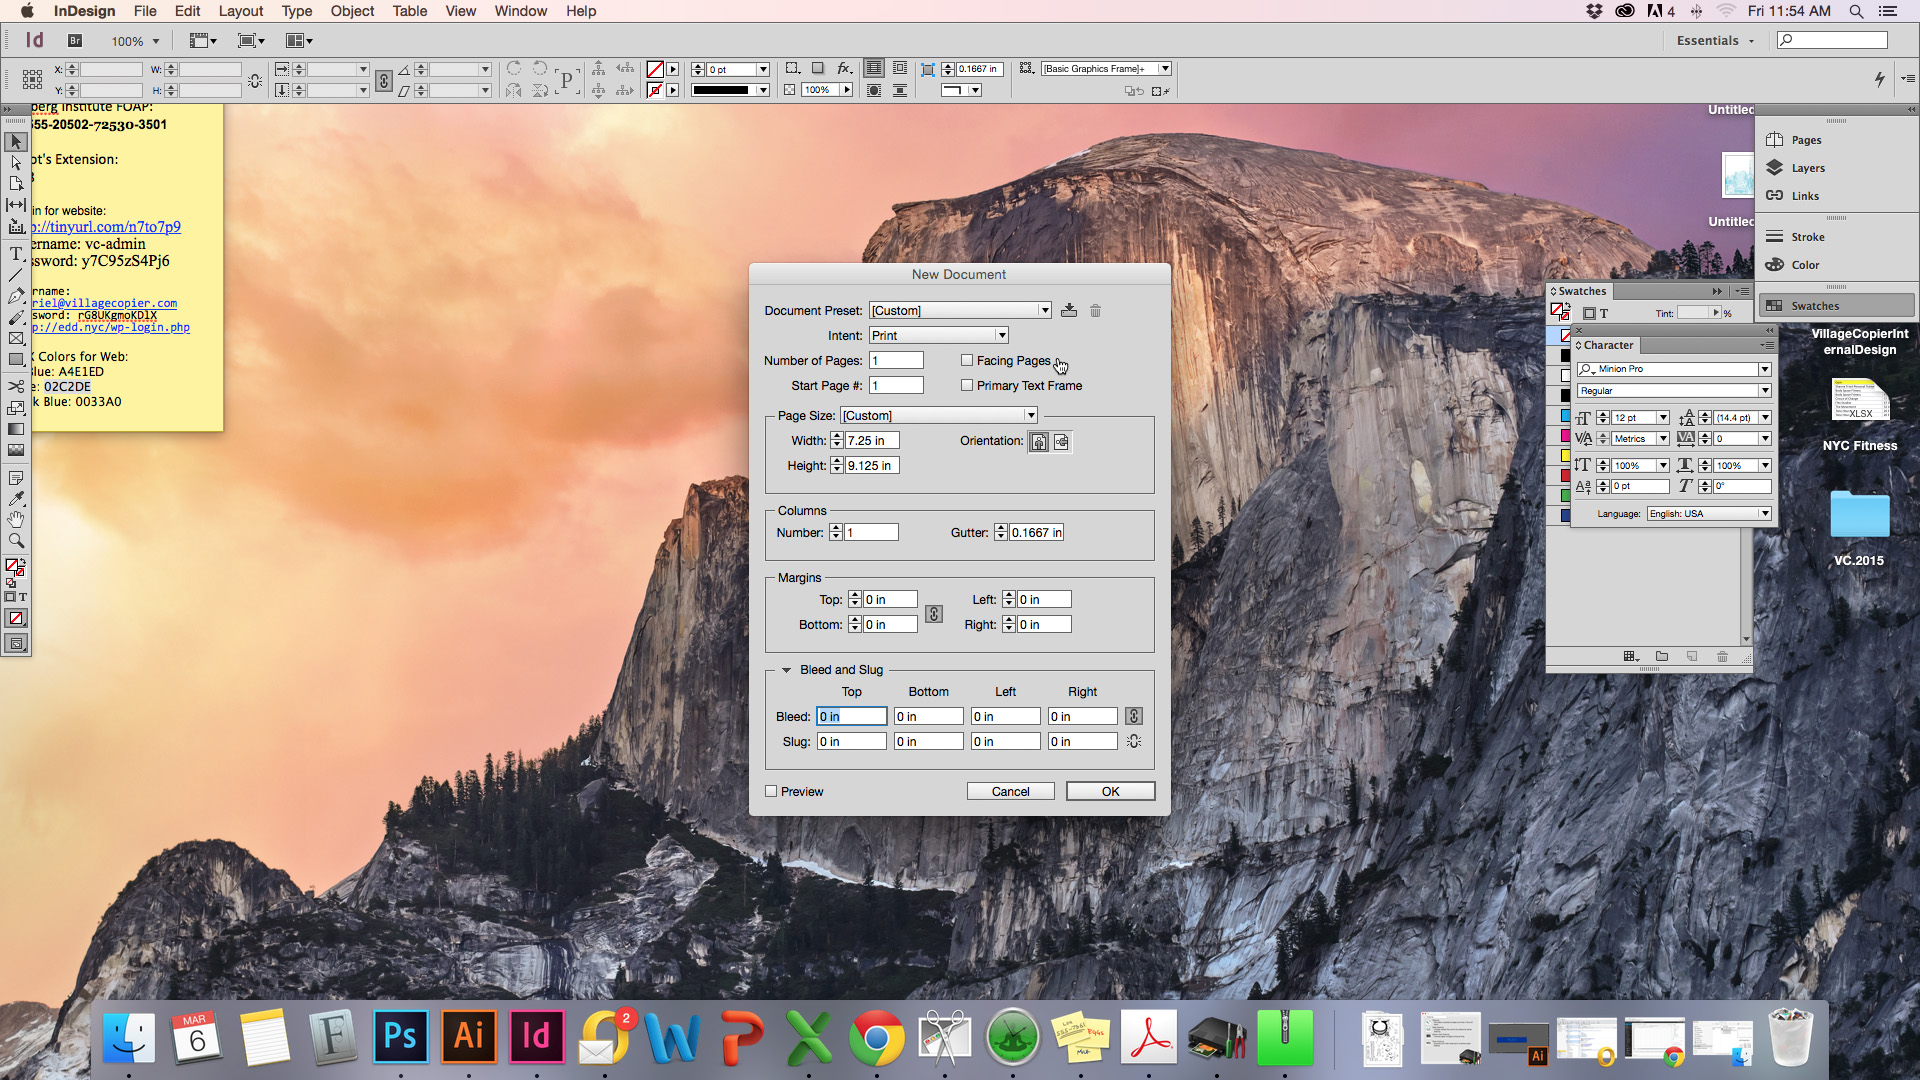
Create a new document in design and set it to the specs of your envelope. Turn off “facing pages”, and this is one of the few times when you don’t want any margins on your document.
Step 2:
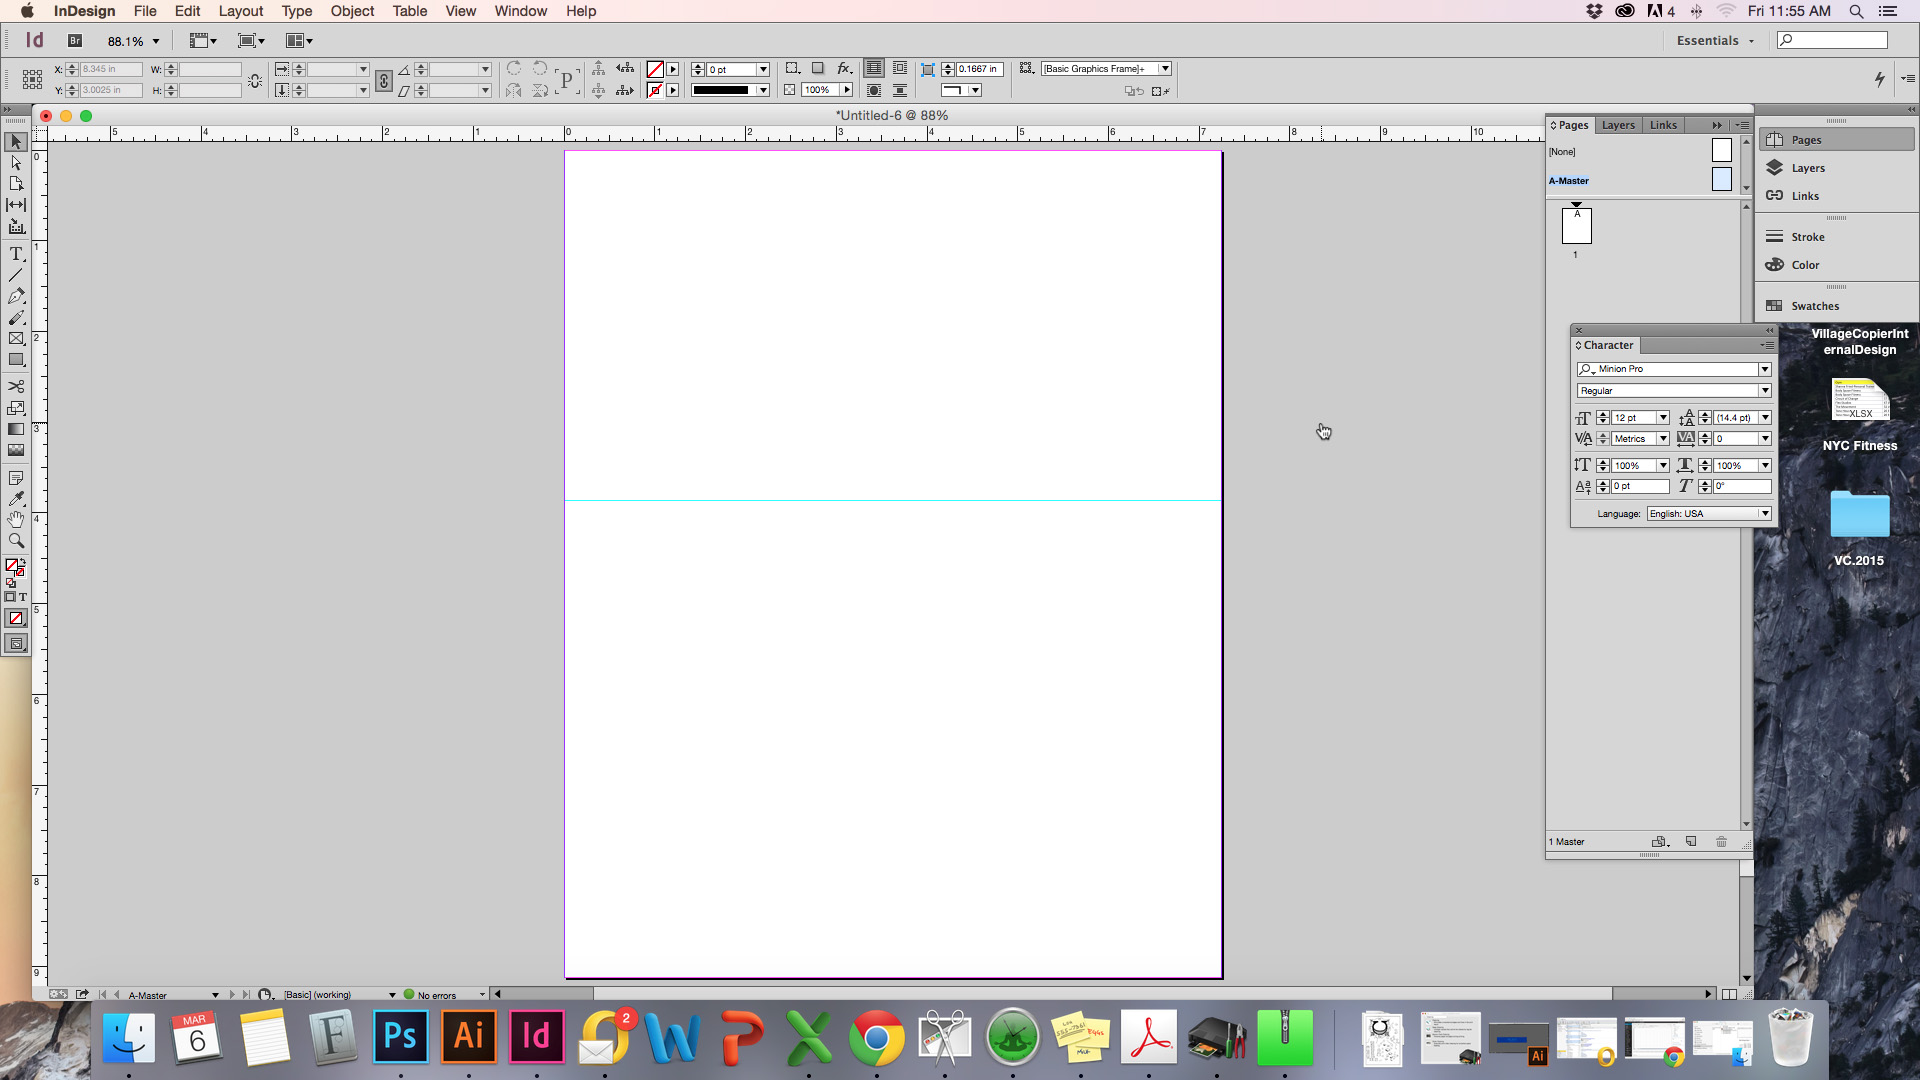
Once your document is created, you can measure out the front of your envelope if you had to create the document with an open flap. Make sure you do so on your master page. If you don’t need to this, you can skip to Step 3.
Step 3:
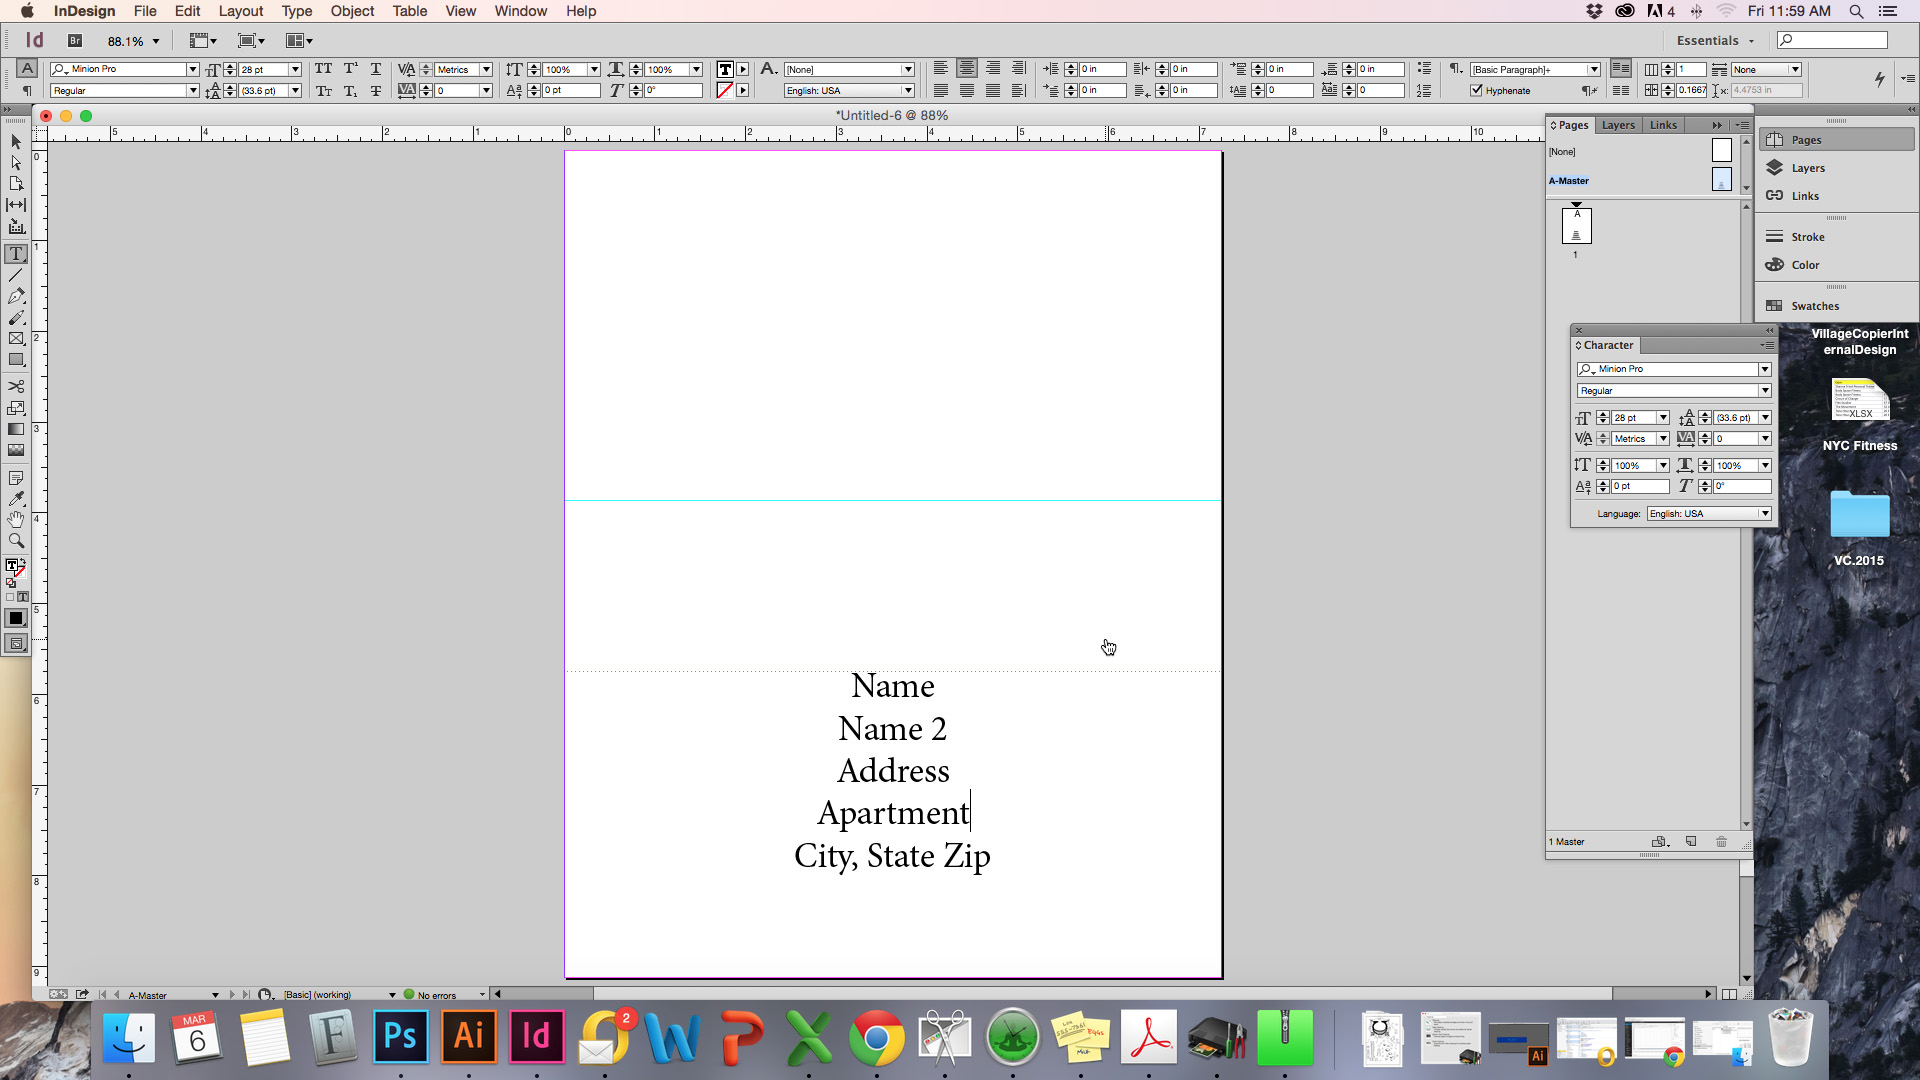
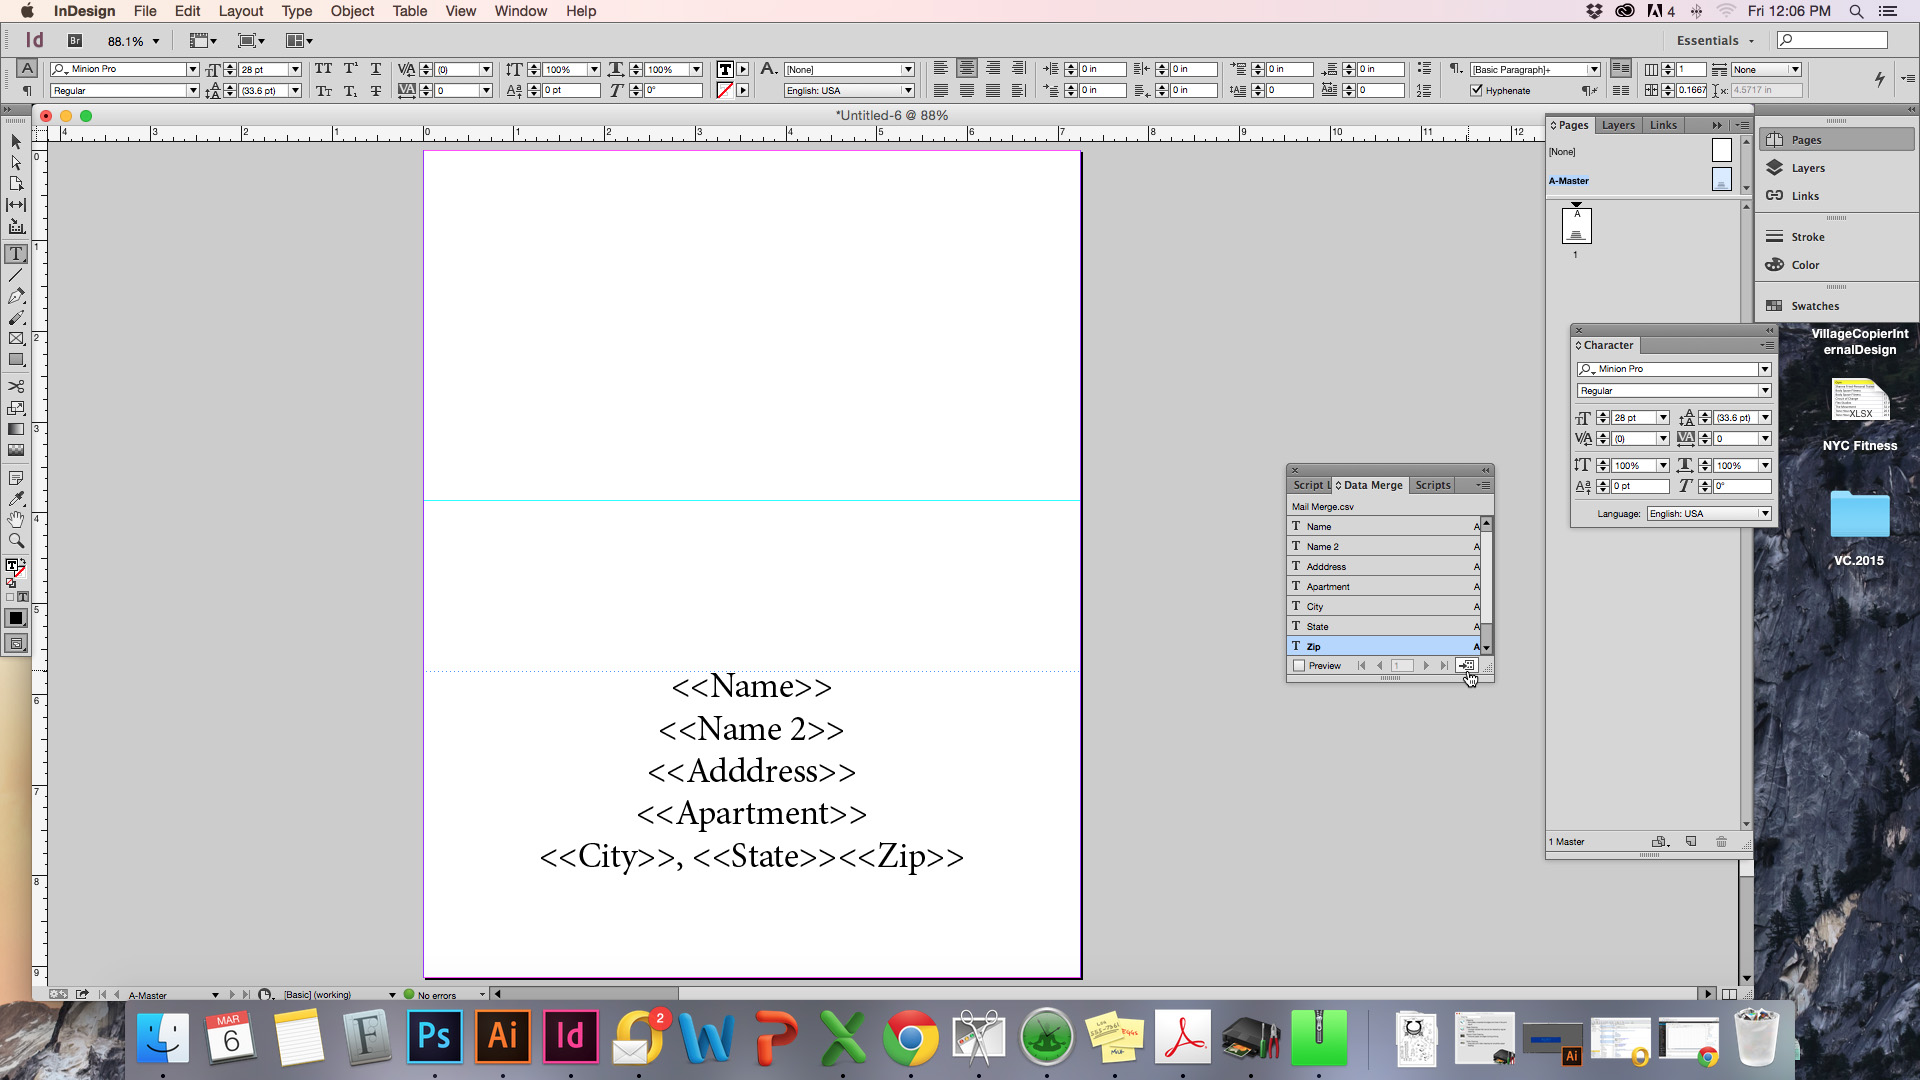
Create a text box and input the headers from you excel document. Now is the time to choose font, color, leading, etc. as whatever you format will carry over throughout the whole document.
Step 4:
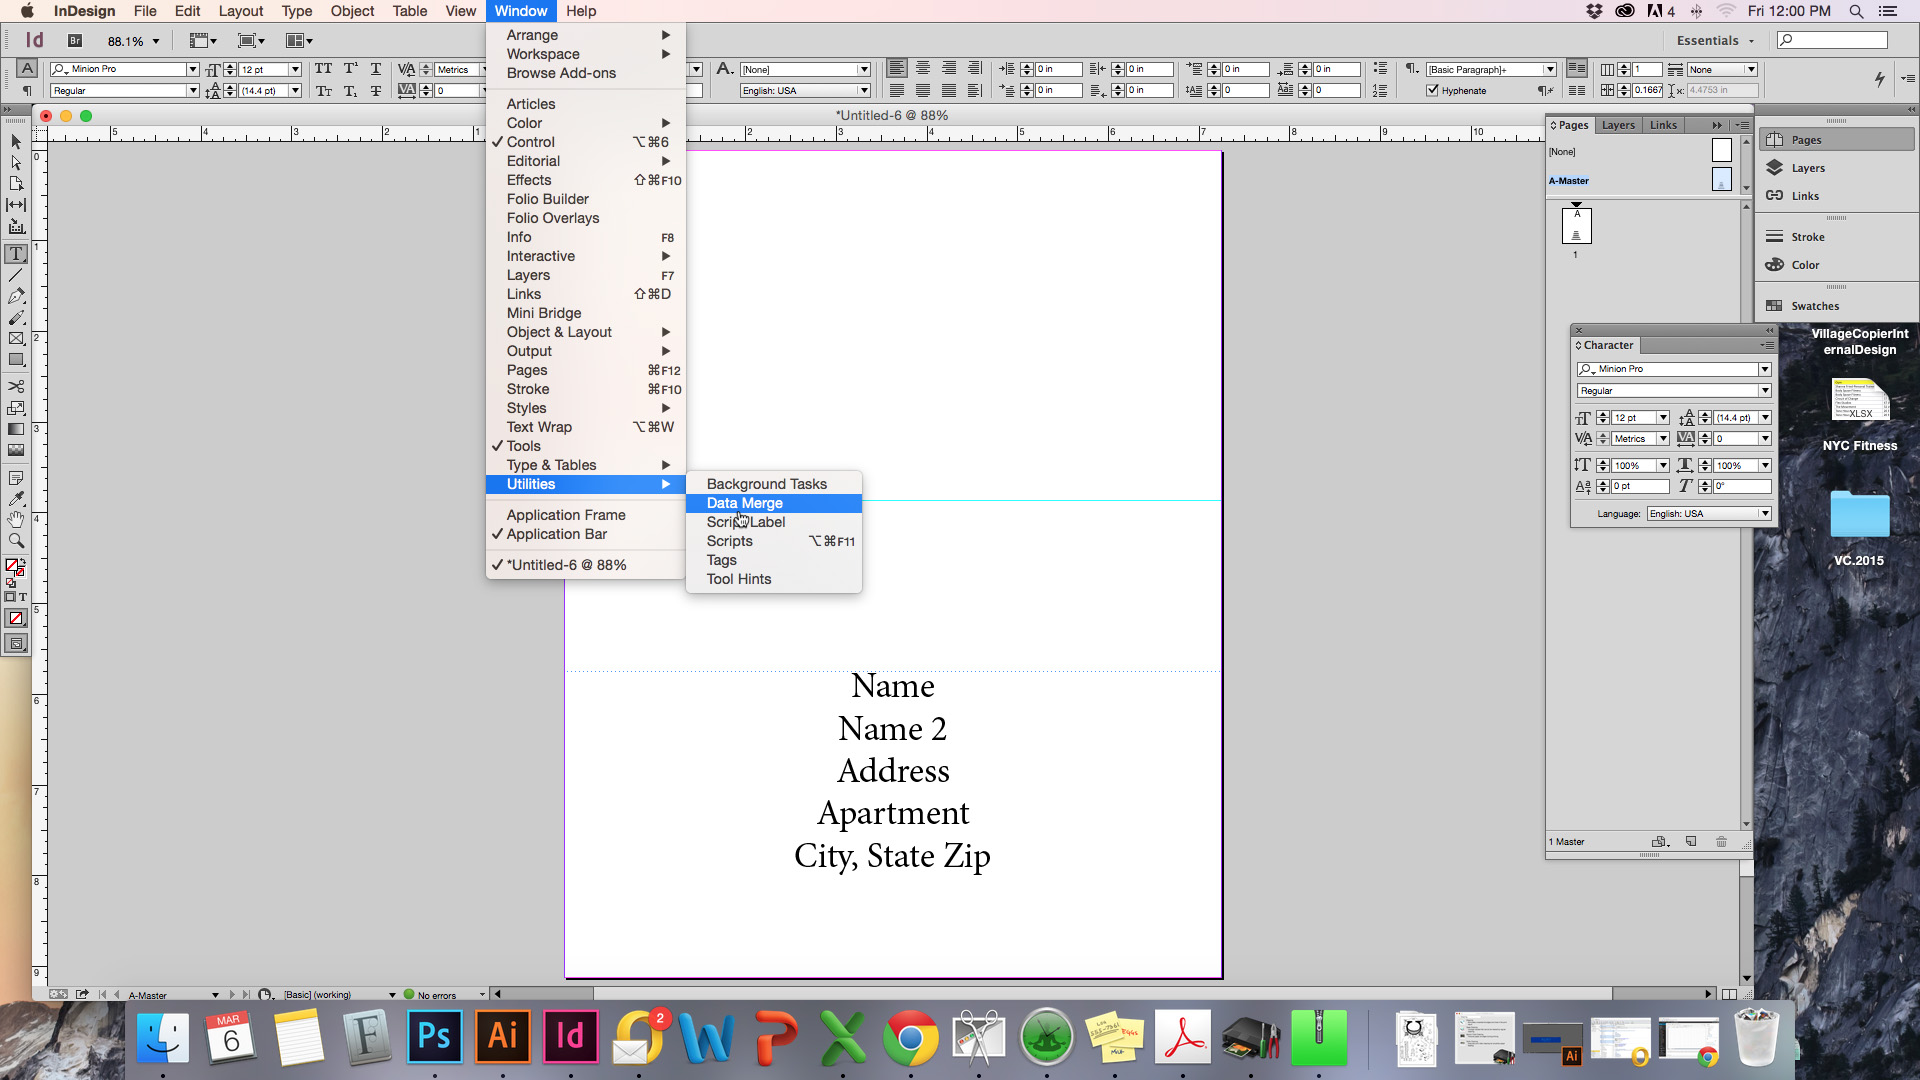
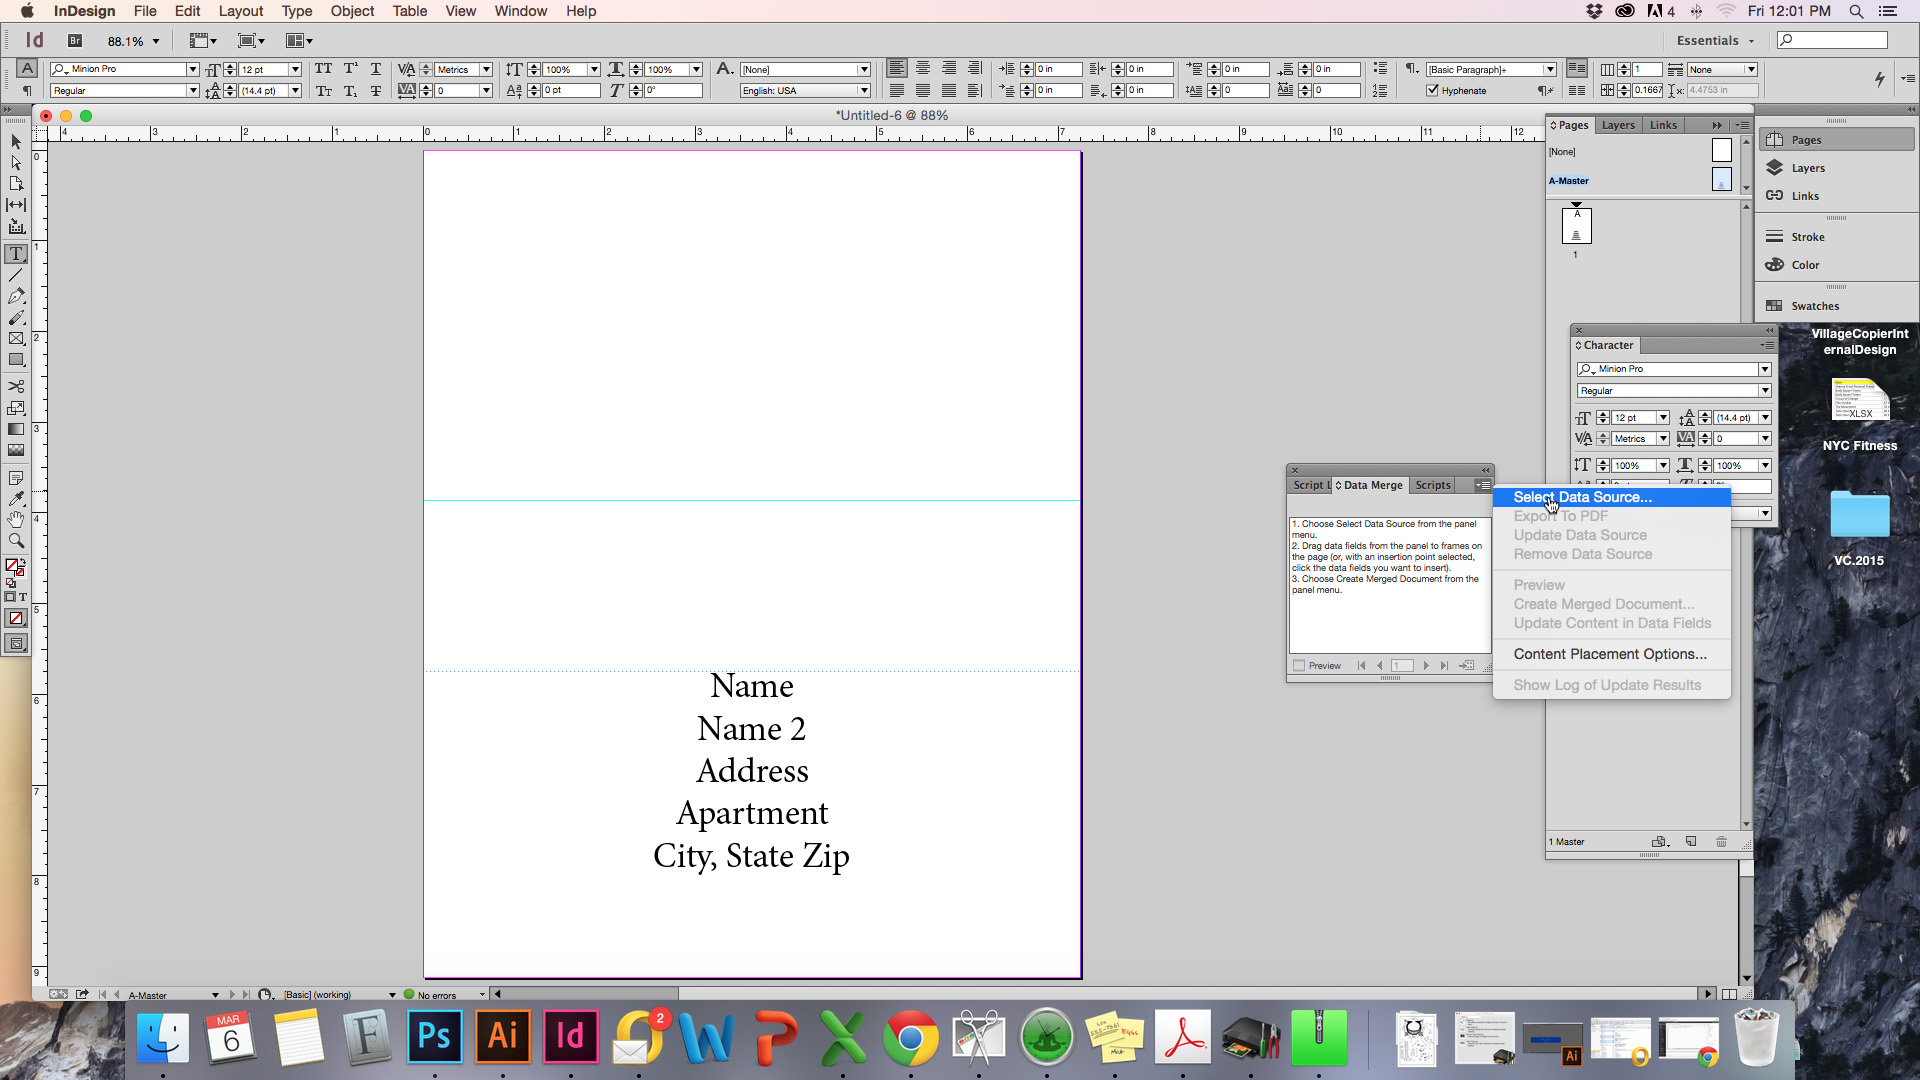
After you format you text, on the menu go to Window>Utilities>Data merge to open the dialogue.
Step 5:
Click on the dropdown menu in the top right corner of the data merge box and choose “select data source” to import your mail merge excel file.
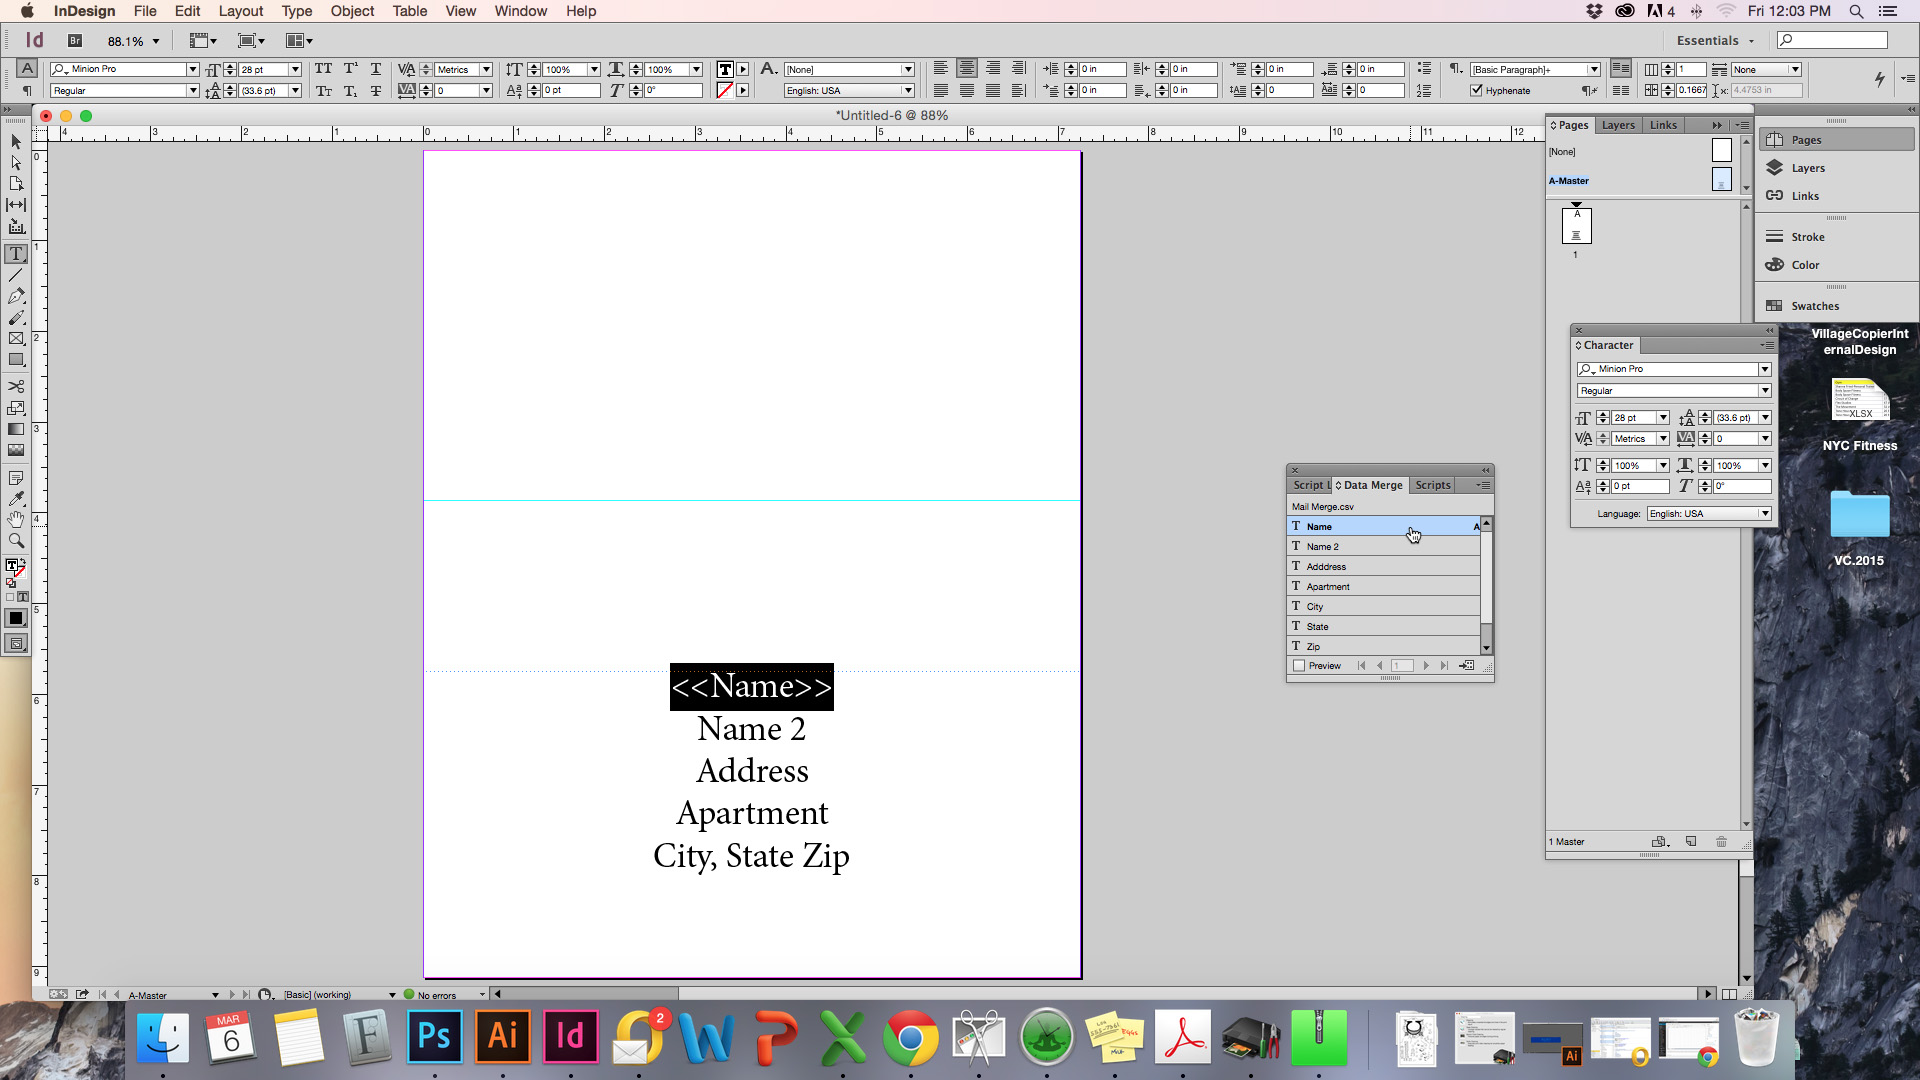
Step 6:
Importing the document will create a menu in the data merge box with all you column headers. Highlight and click to match your type with the headers in the box. Two carrots will appear on either side of the type that has a header corresponding to it.
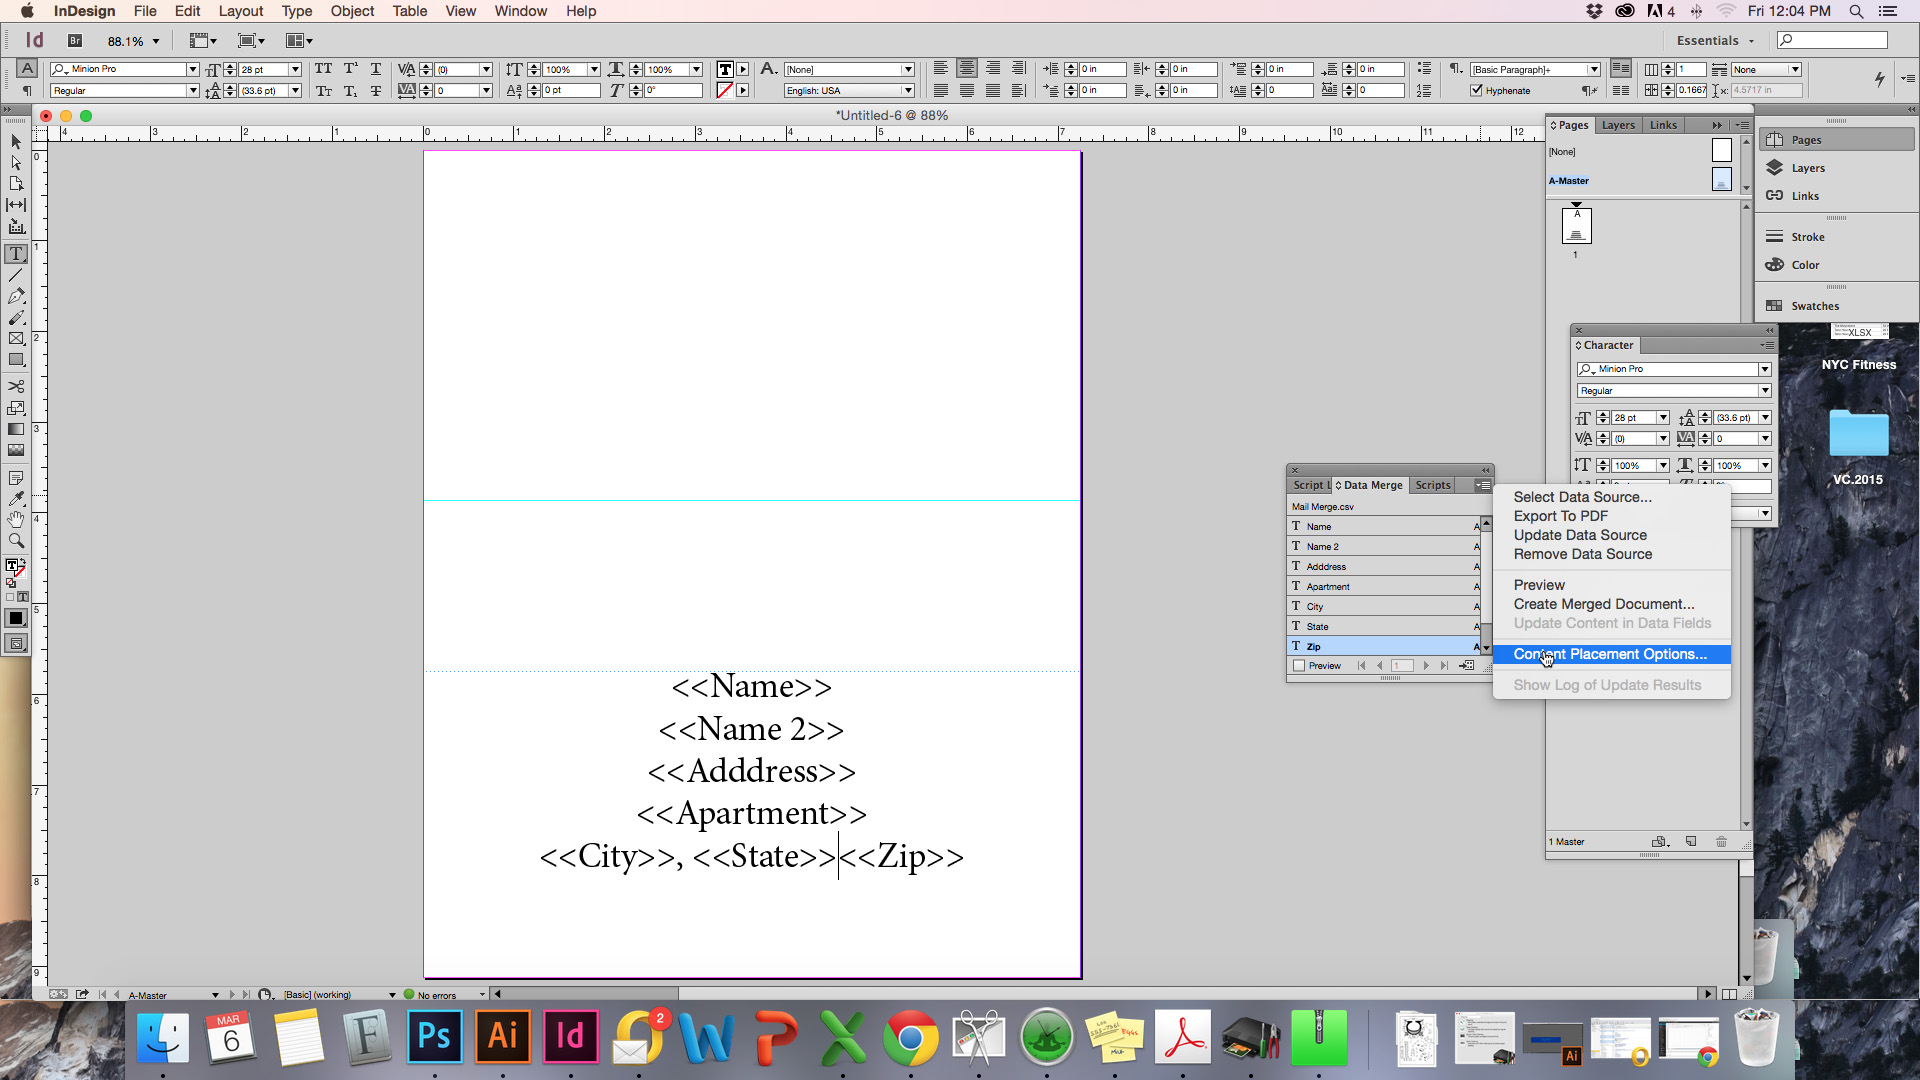
Step 7:
You’re almost ready! Before you merge your document, click on the drop down menu of the data merge box, and click “Content Placement Options” to open a dialogue box.
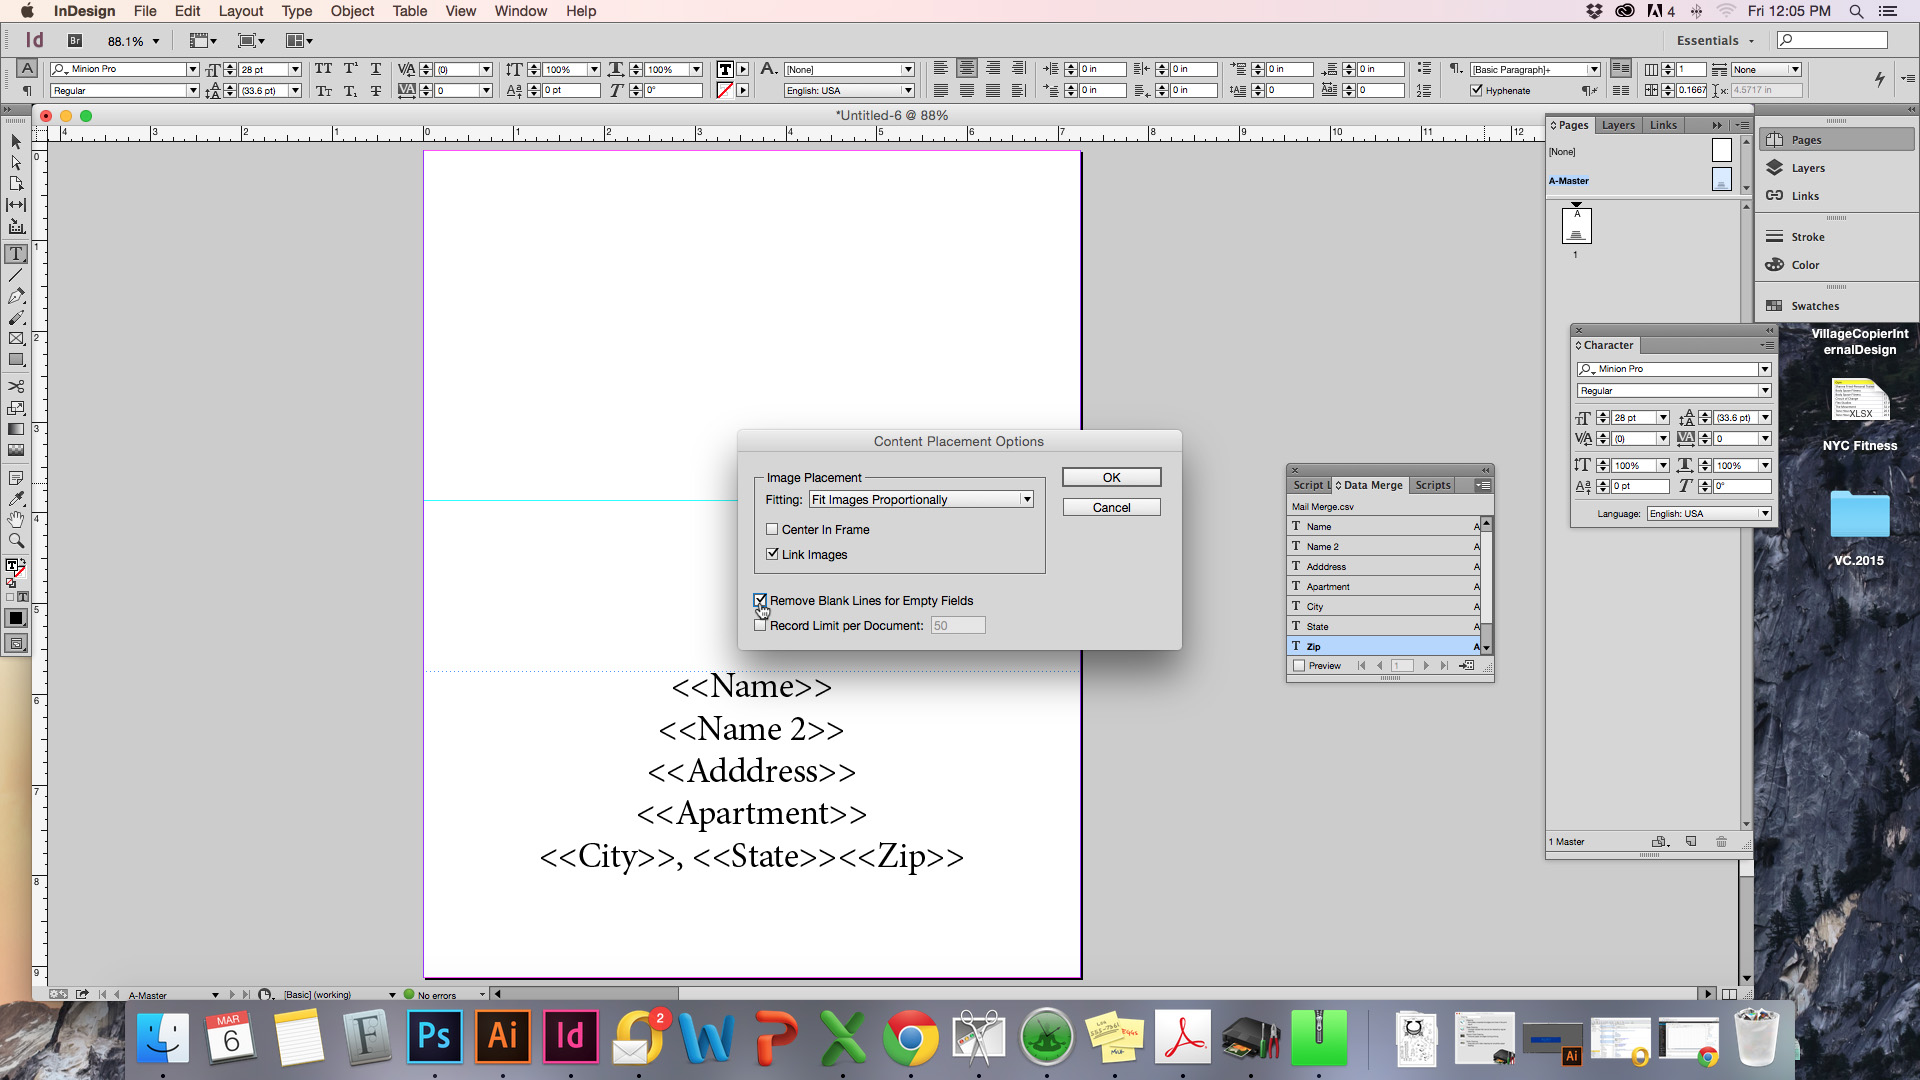
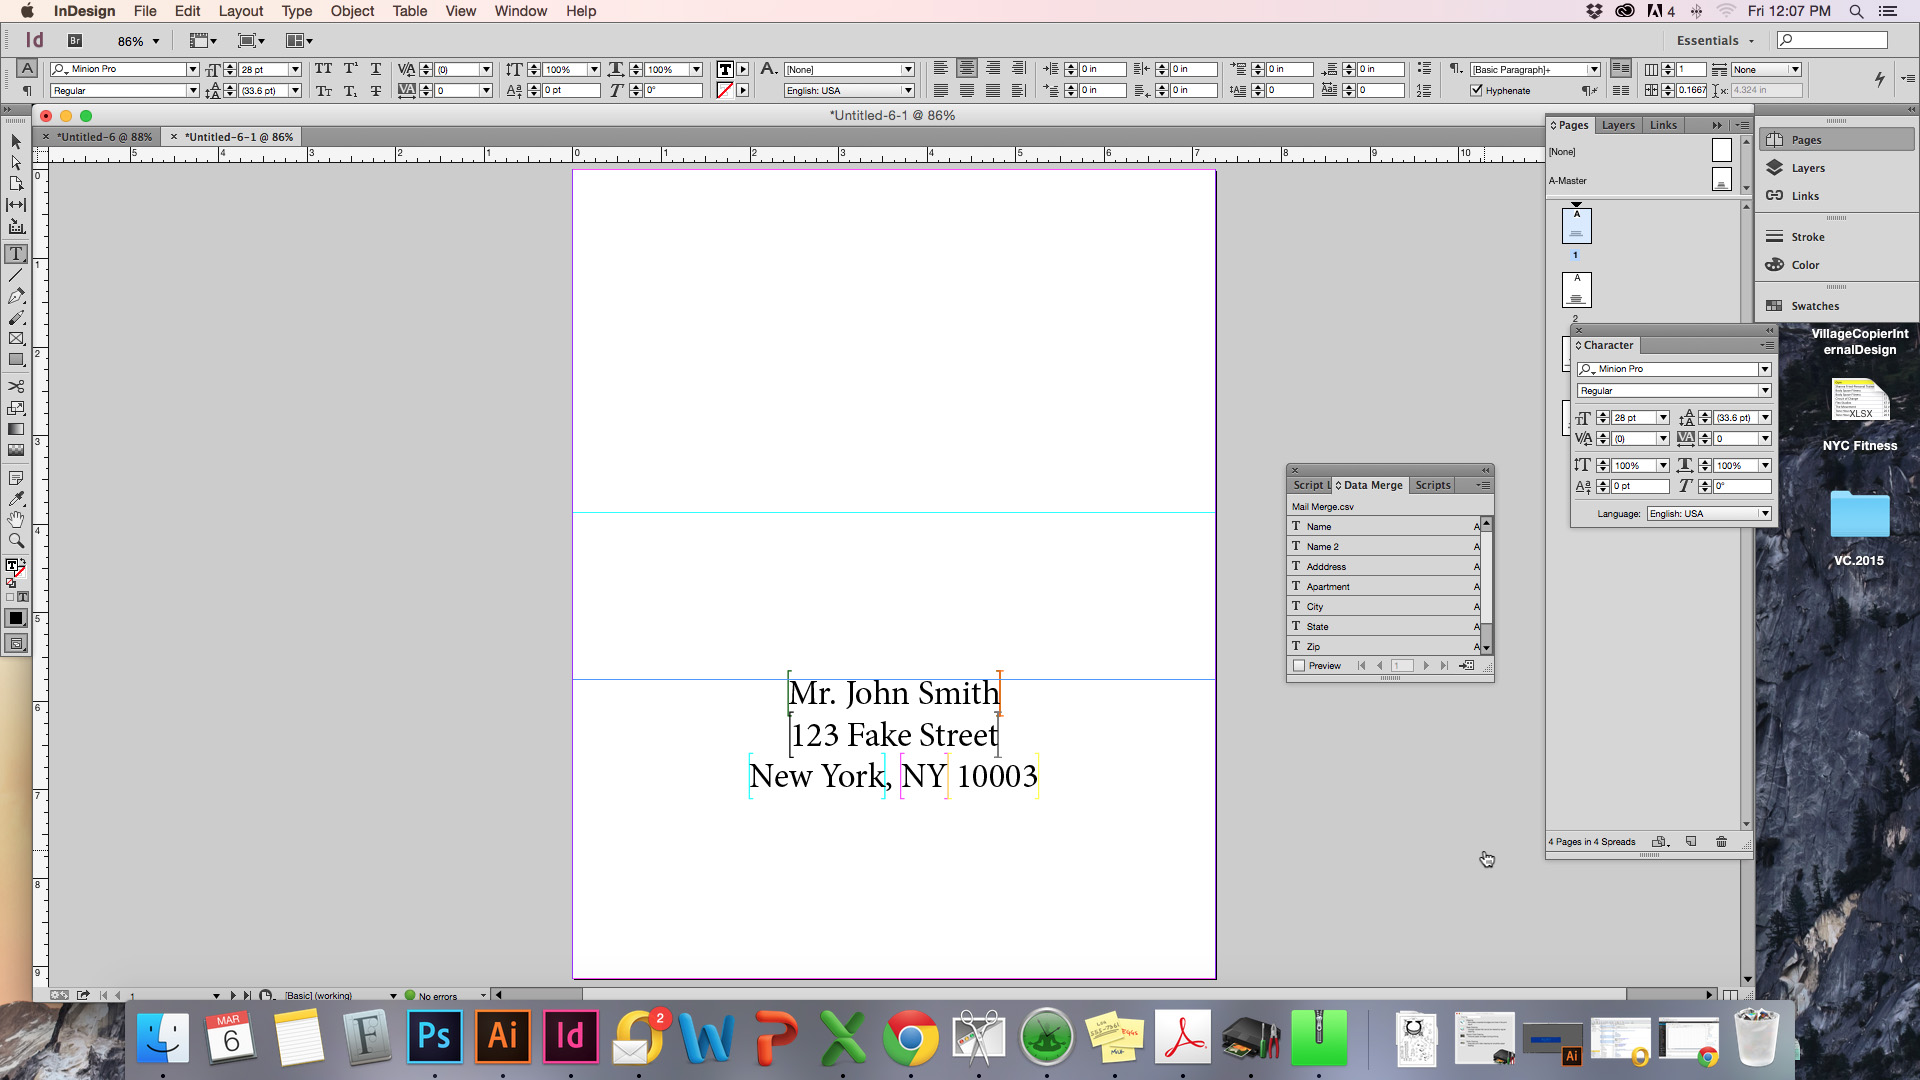
Here You’ll want to click “Remove Blank Lines For Empty Fields”. This will ensure that fields that aren’t filled in for addresses aren’t filled with blank space.
Step:8
Now you’re ready to complete your mail merge! Click the button on the bottom right corner of the data merge box…
and Voila! You have a mail merged document!
Creating a Mail Merge Document in Word
Step 1:
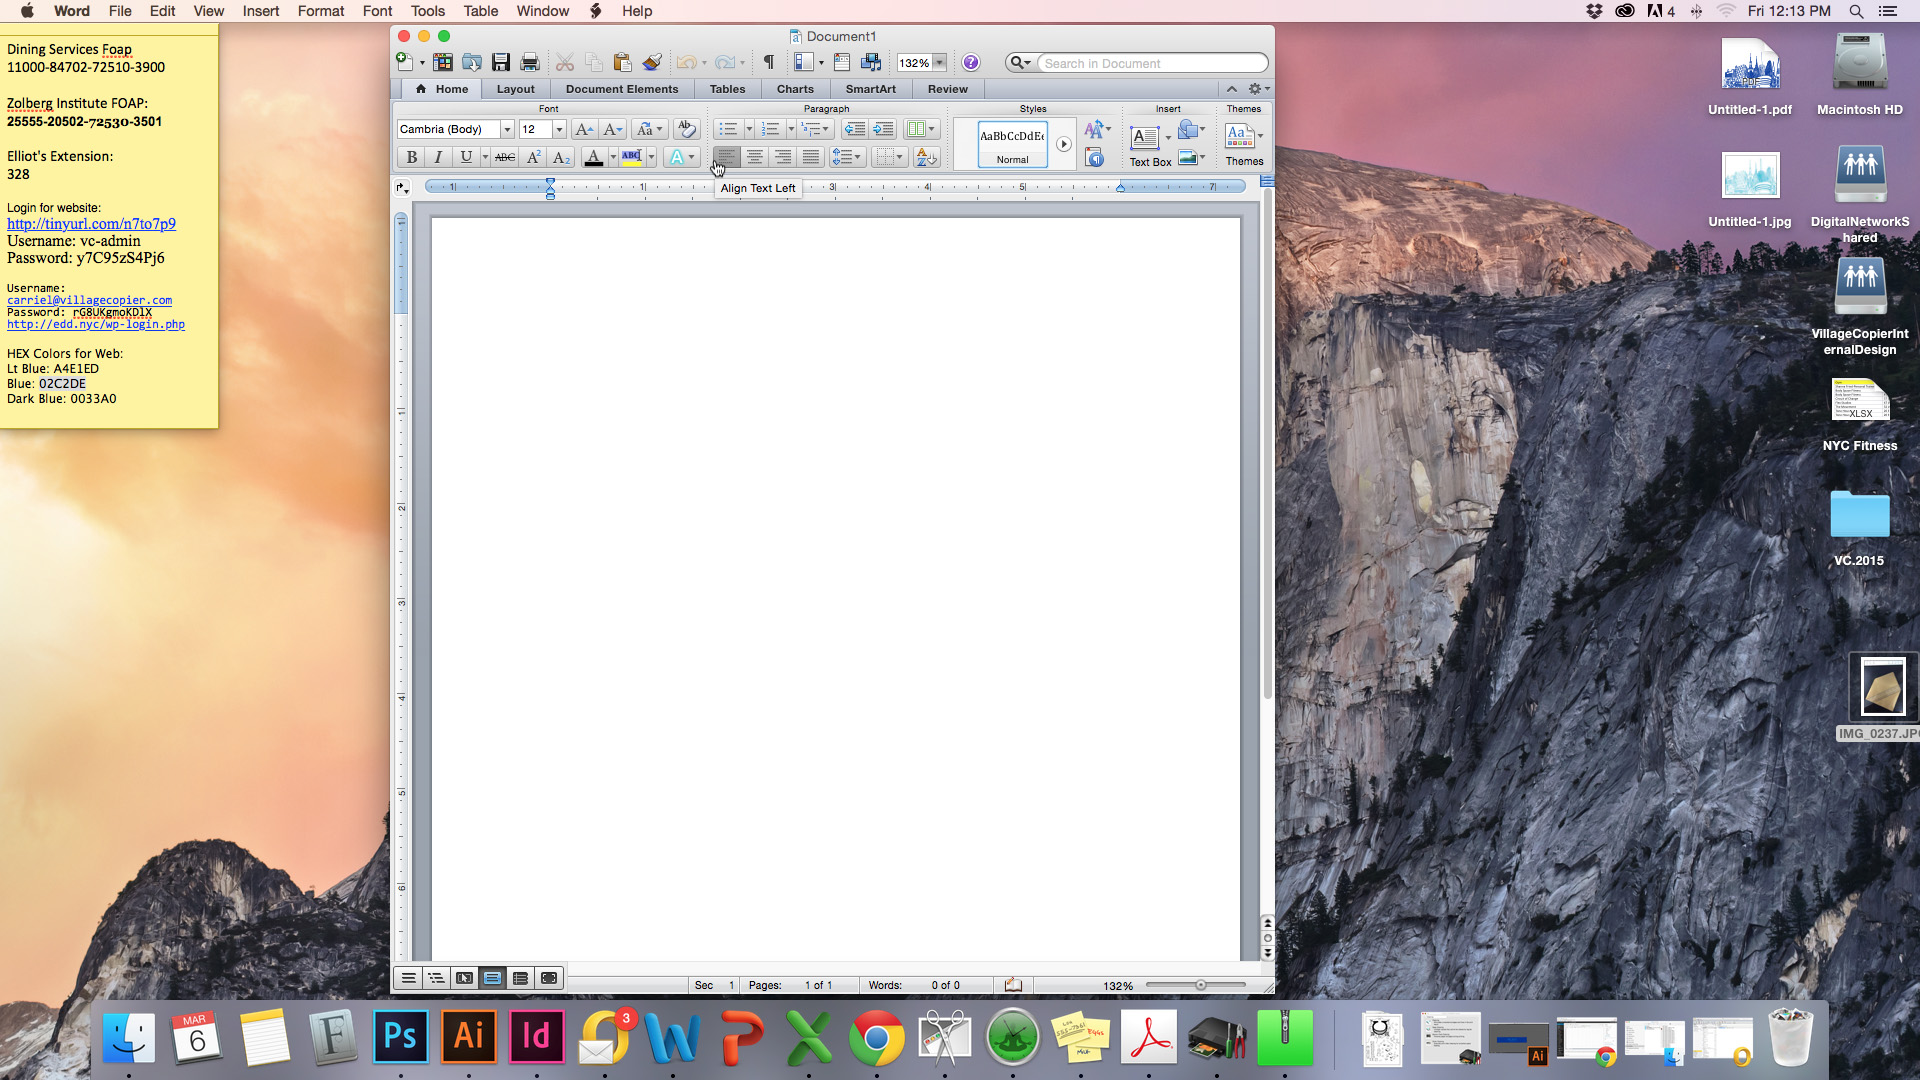
Open up a new document in word.
Step 2:
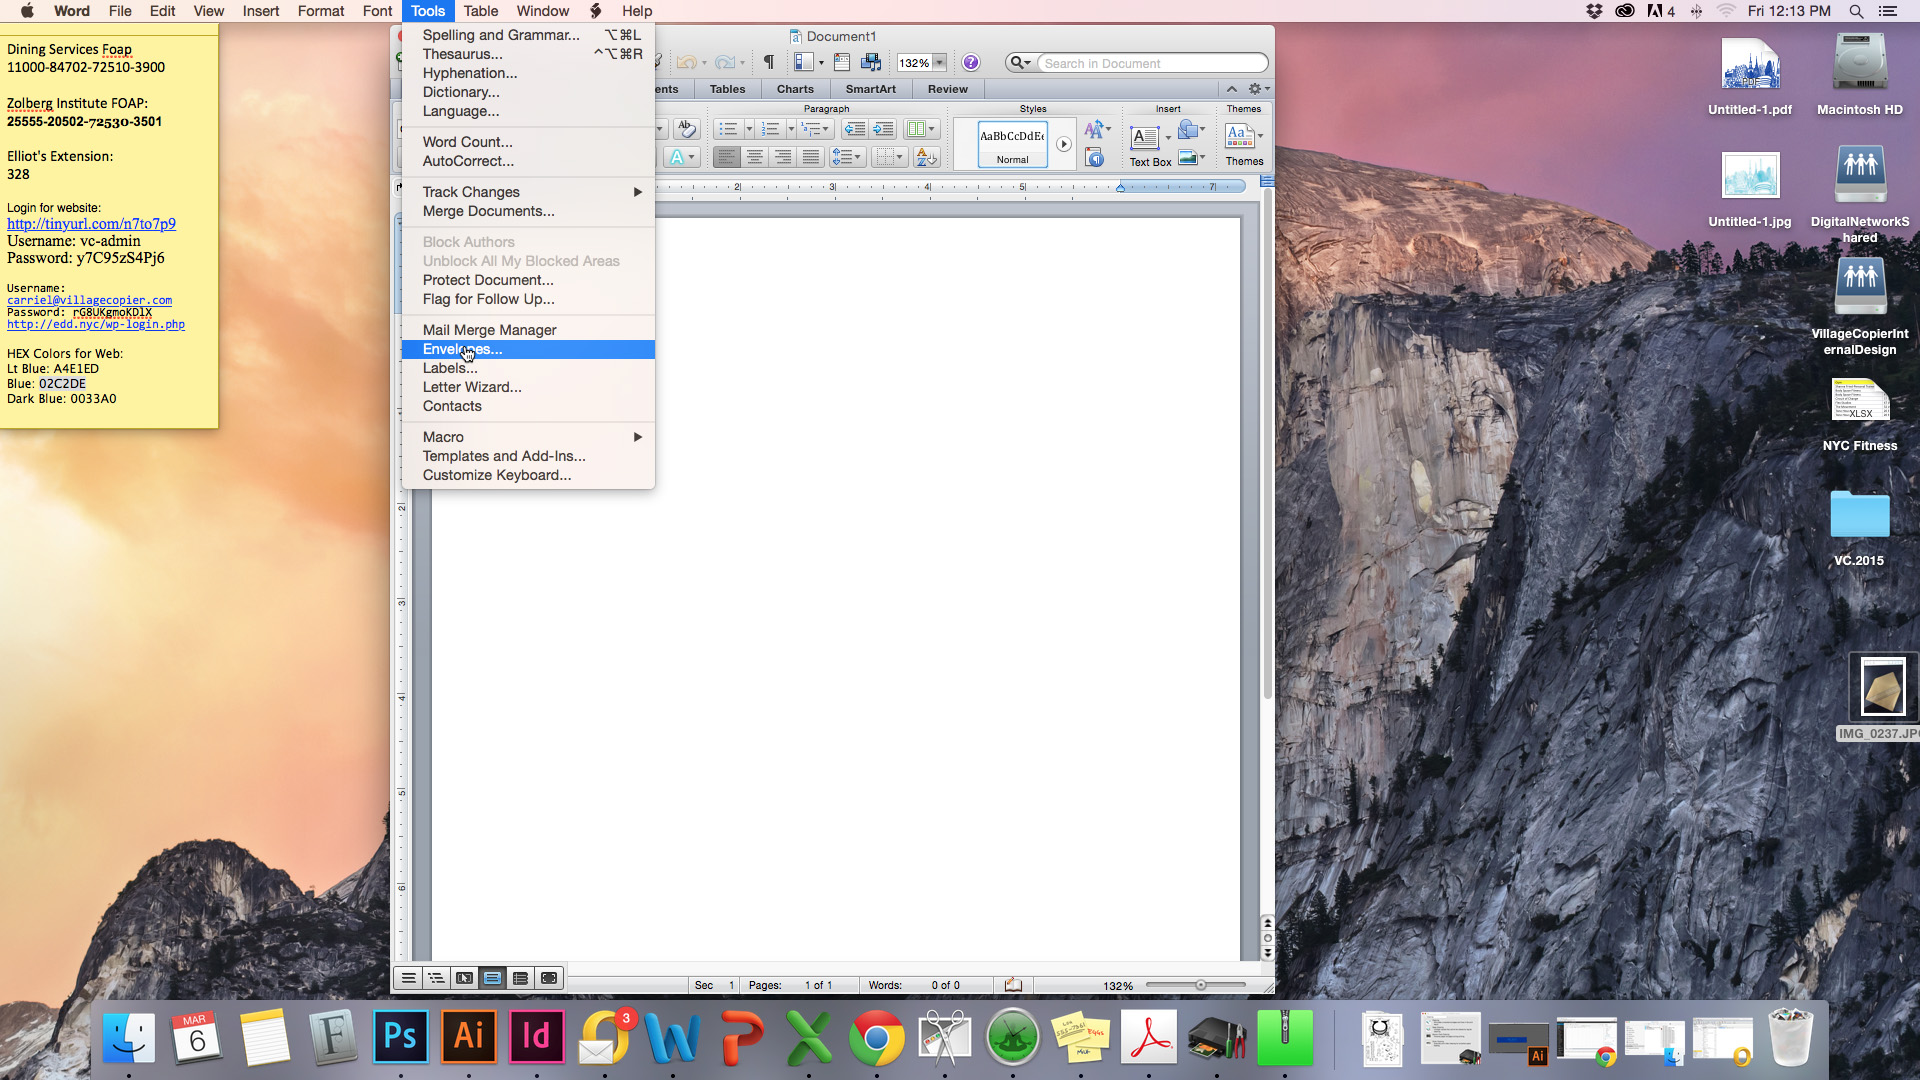
Click on tools in the menu bar and click on envelopes in the drop down menu.
Step 3:
A envelope dialogue will pop up with options for formatting the text for the address and return address.
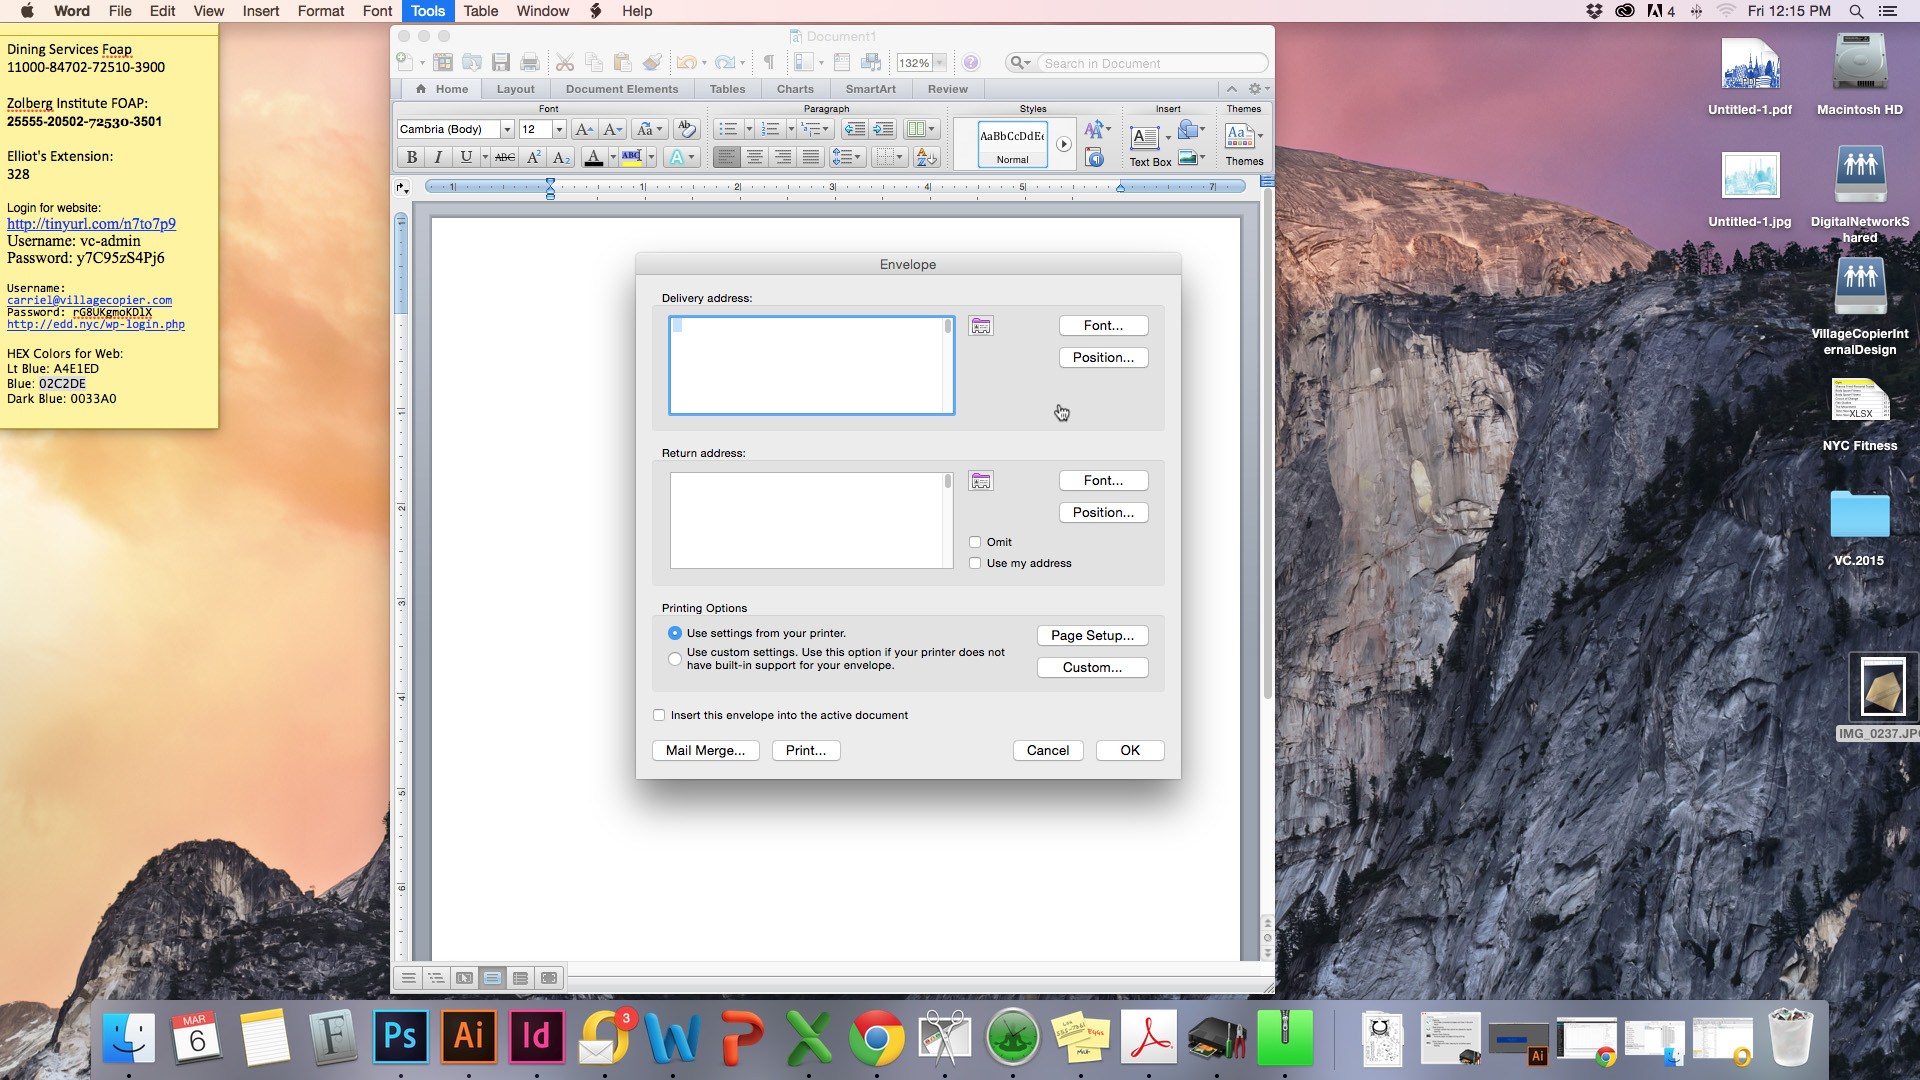
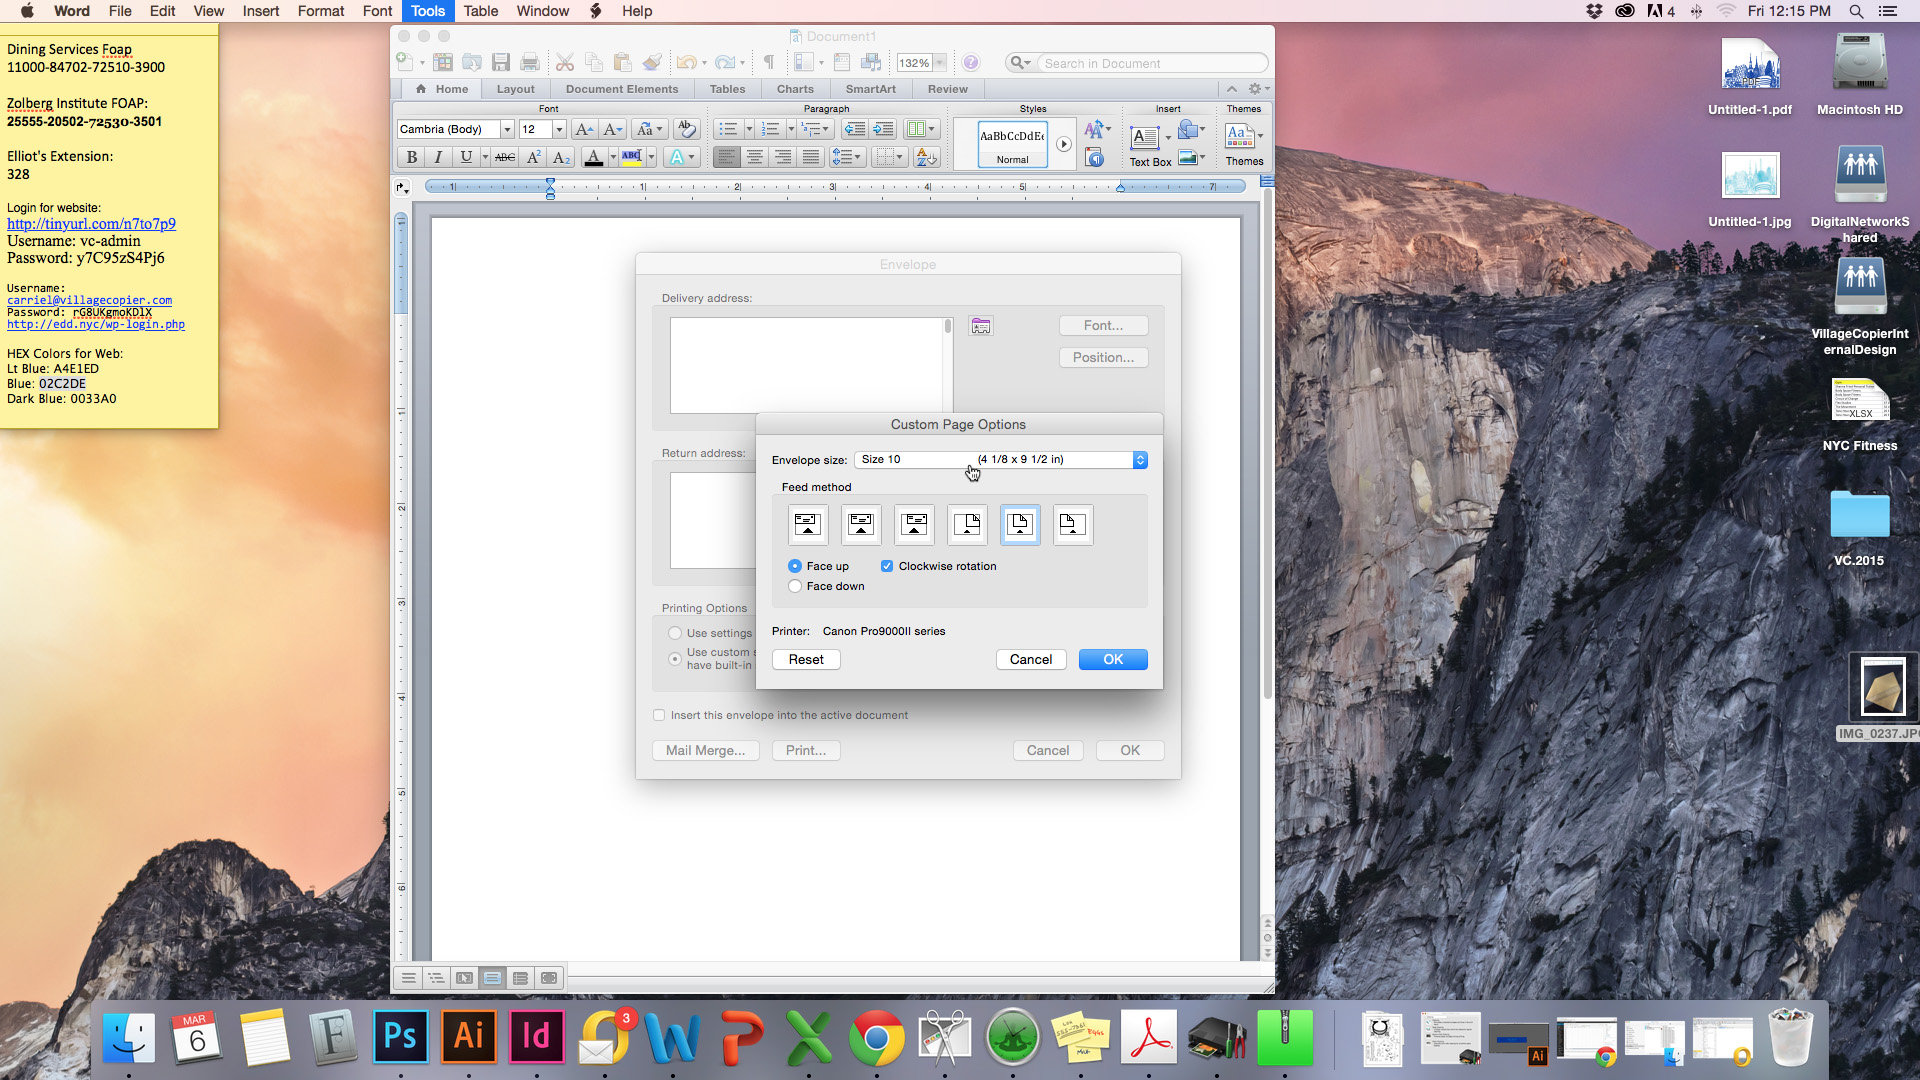
Step 4:
There’s also a button to click that will allow you to choose your envelop size. You can choose from your printer settings or custom settings. Word has a bunch of envelope sizes(closed flap) already logged into the program.
Once that’s all decided, click mail merge on the bottom left-hand corner of the dialogue.
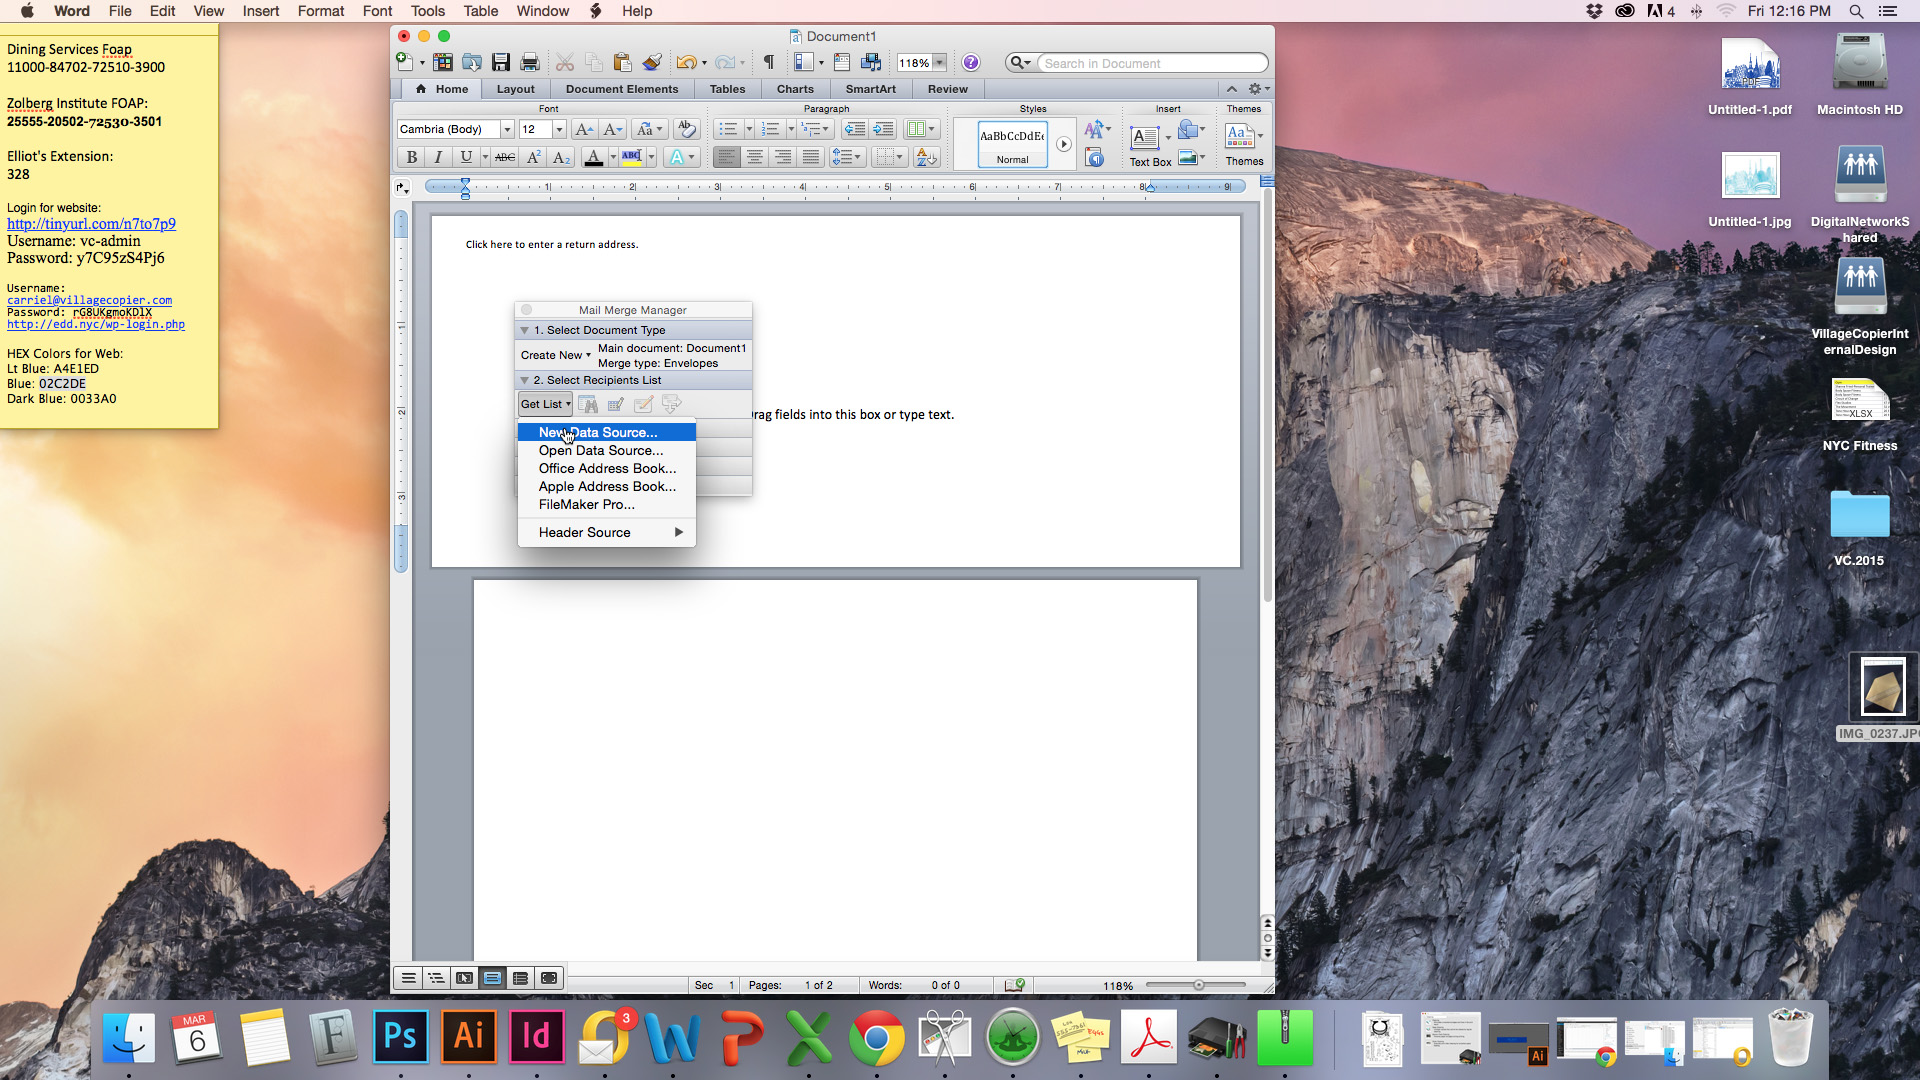
Step 5:
Click on get list under the second option on the “mail merge manager” dialogue. A drop down menu will pop-up. Click “Open Data Source” to import your excel document.
Step 6:
Your headers will pop up under the place holder menu. You can drag and drop them on the document.

Step 7:
Once you have the envelope set up how you would like it. You can click the second button on the bottom left to create a new file with your merge document…

and now you have a completed mail merge document!