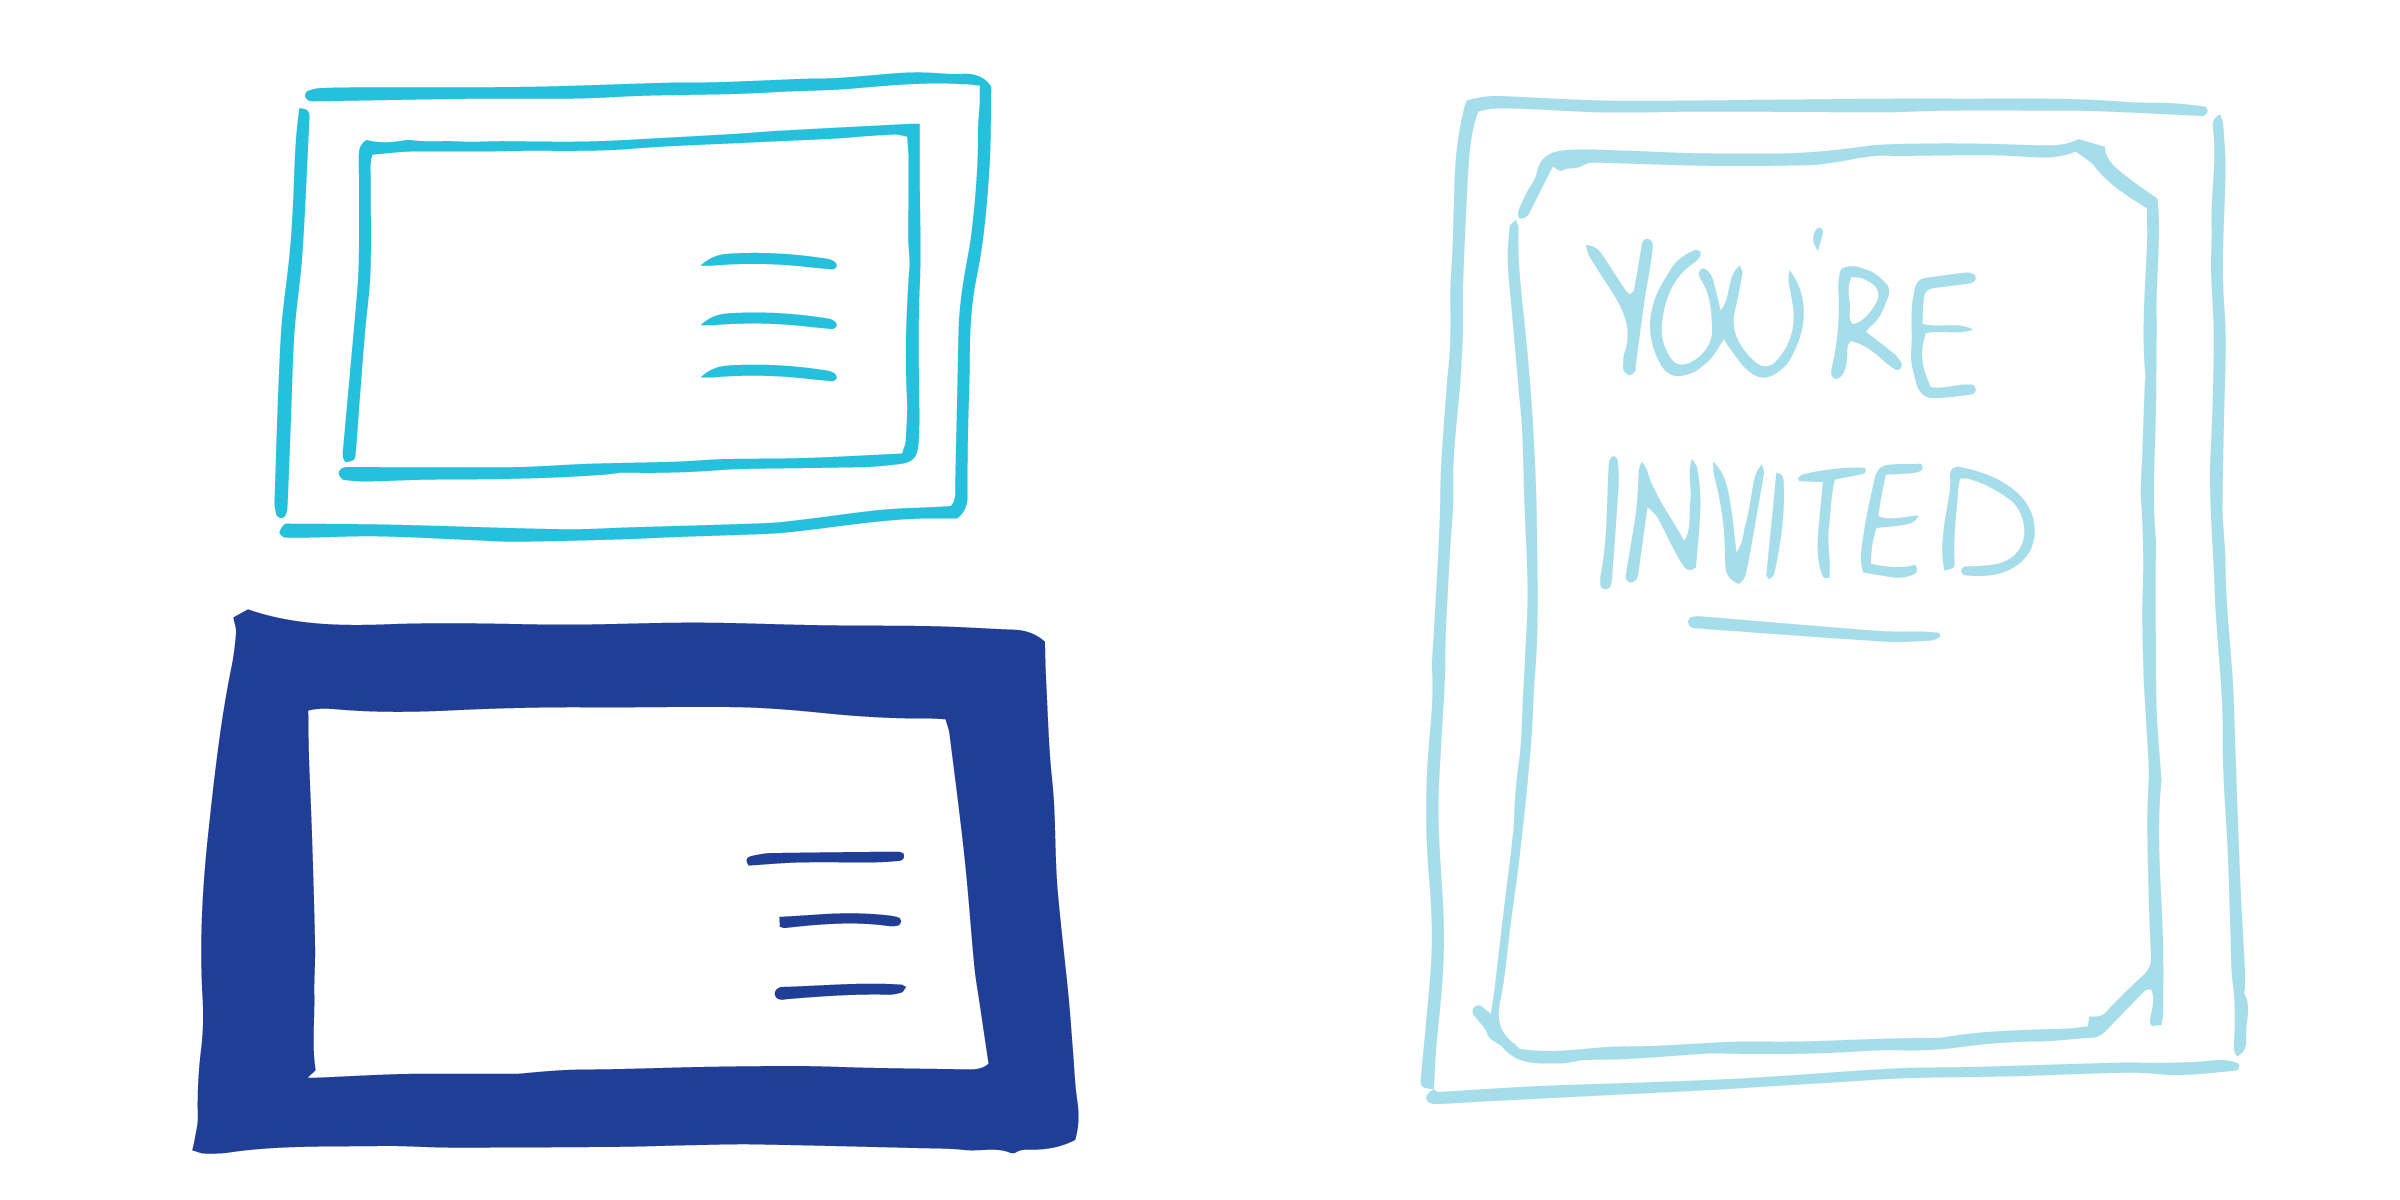
Borders are an awesome design element. Great to jazz up invites or business cards or anything printed item, but not all borders are created equally. Here we’ll tell you how to design borders to make sure your designs are perfect once they’re printed!
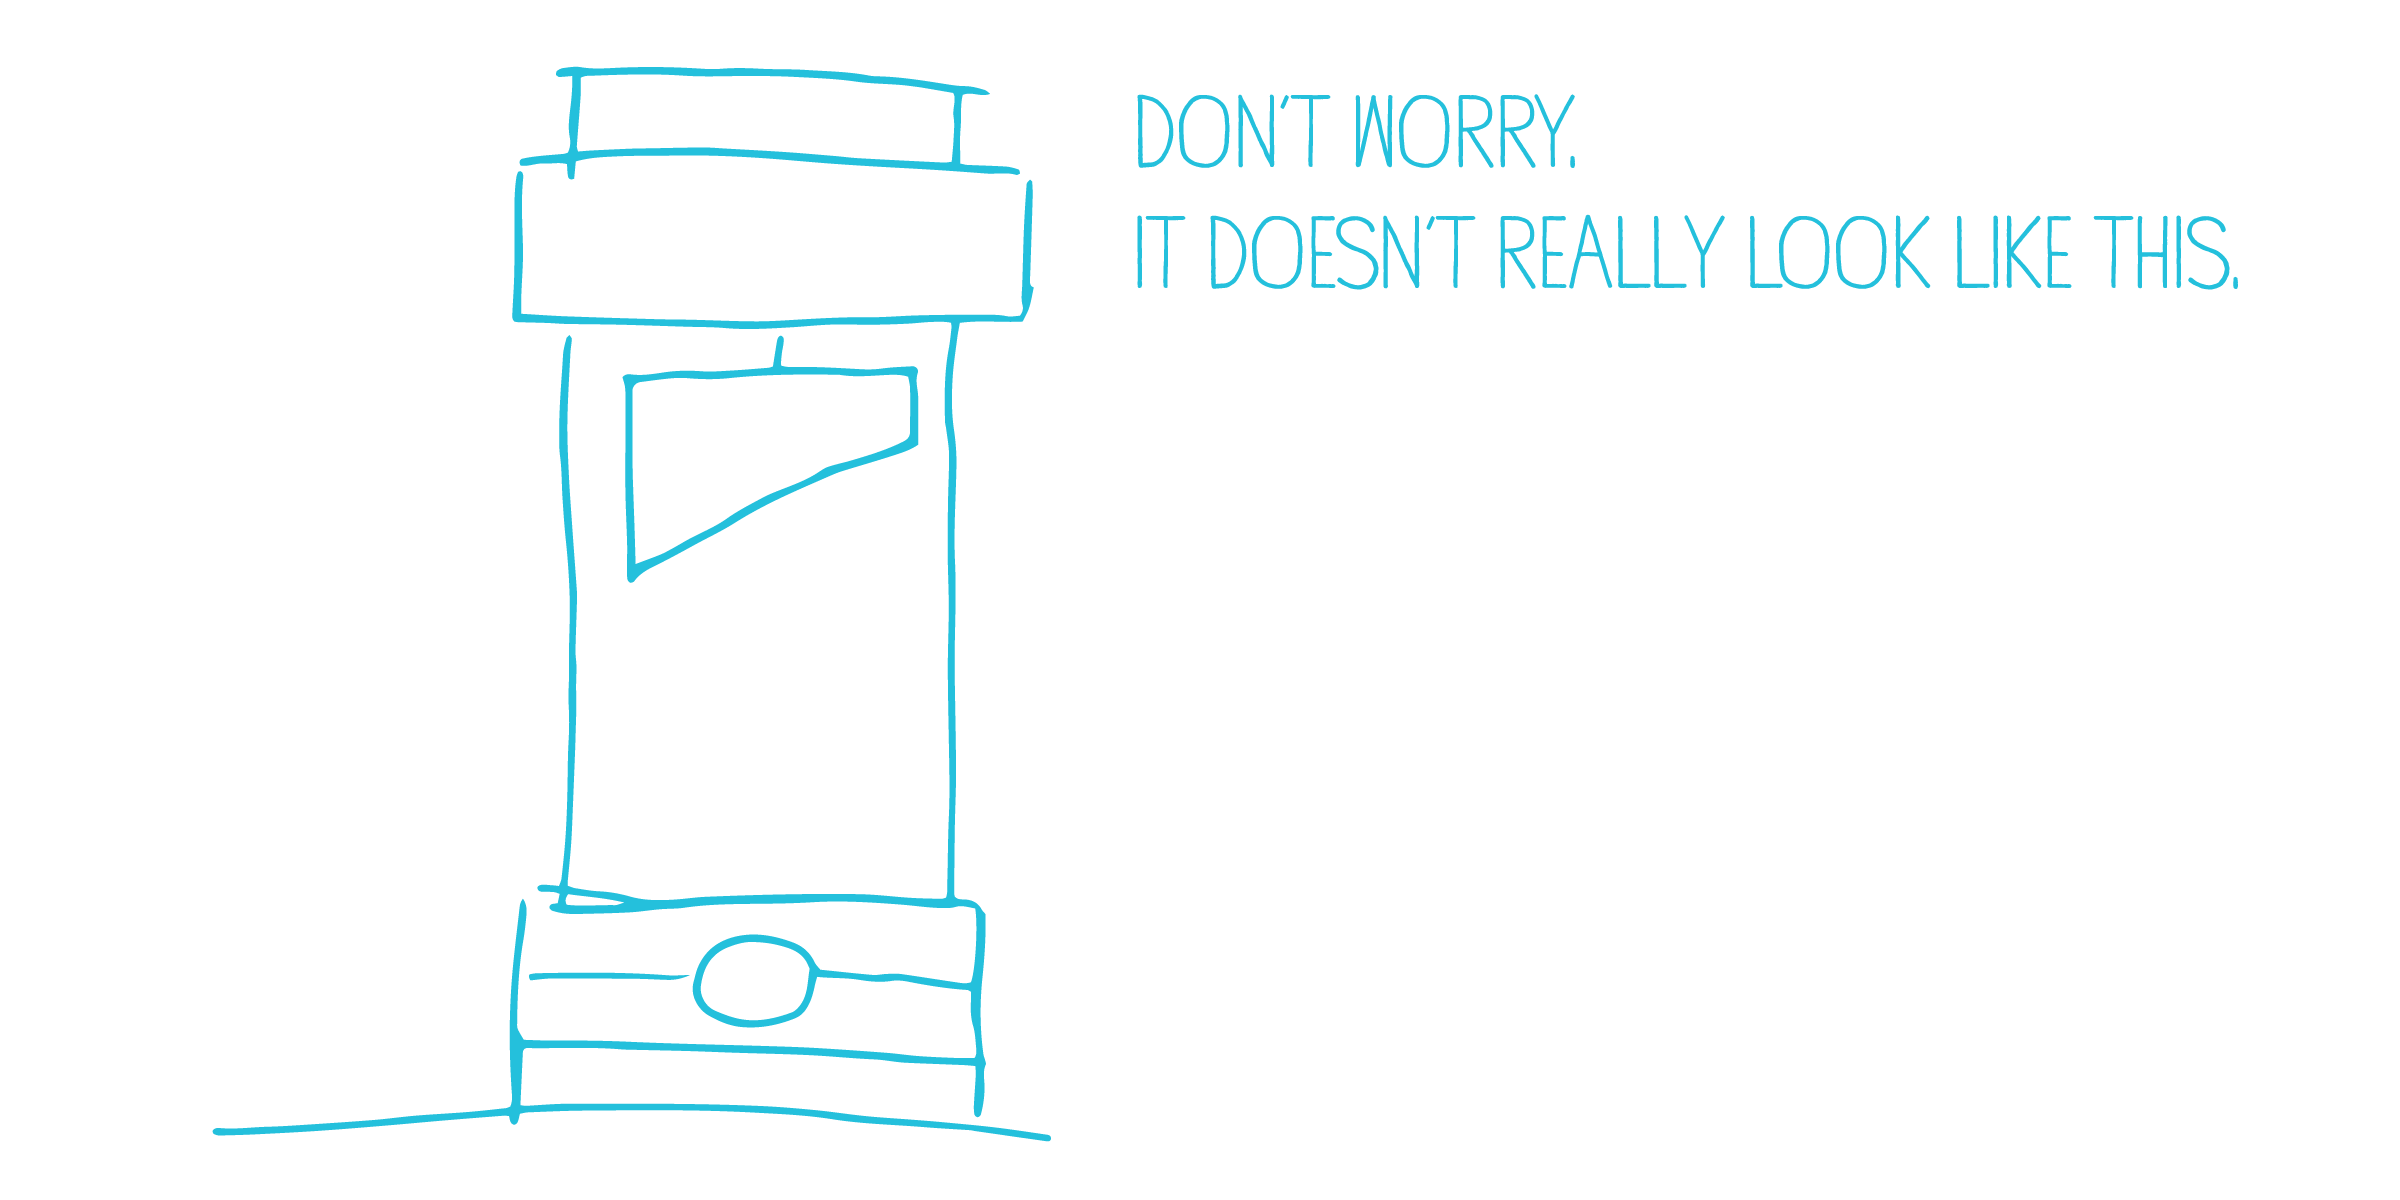
The one important thing to remember when you’re getting something professionally printed and it has a border on it is how your job gets cut. Most professional printers cut jobs with a guillotine: a large blade that can cut through stacks of paper with ease. With all paper cut on a guillotine, there’s always a little shift as the blade passes through the stack. This shift is unnoticeable, but can wreck havoc on designs with borders because it make them look uneven
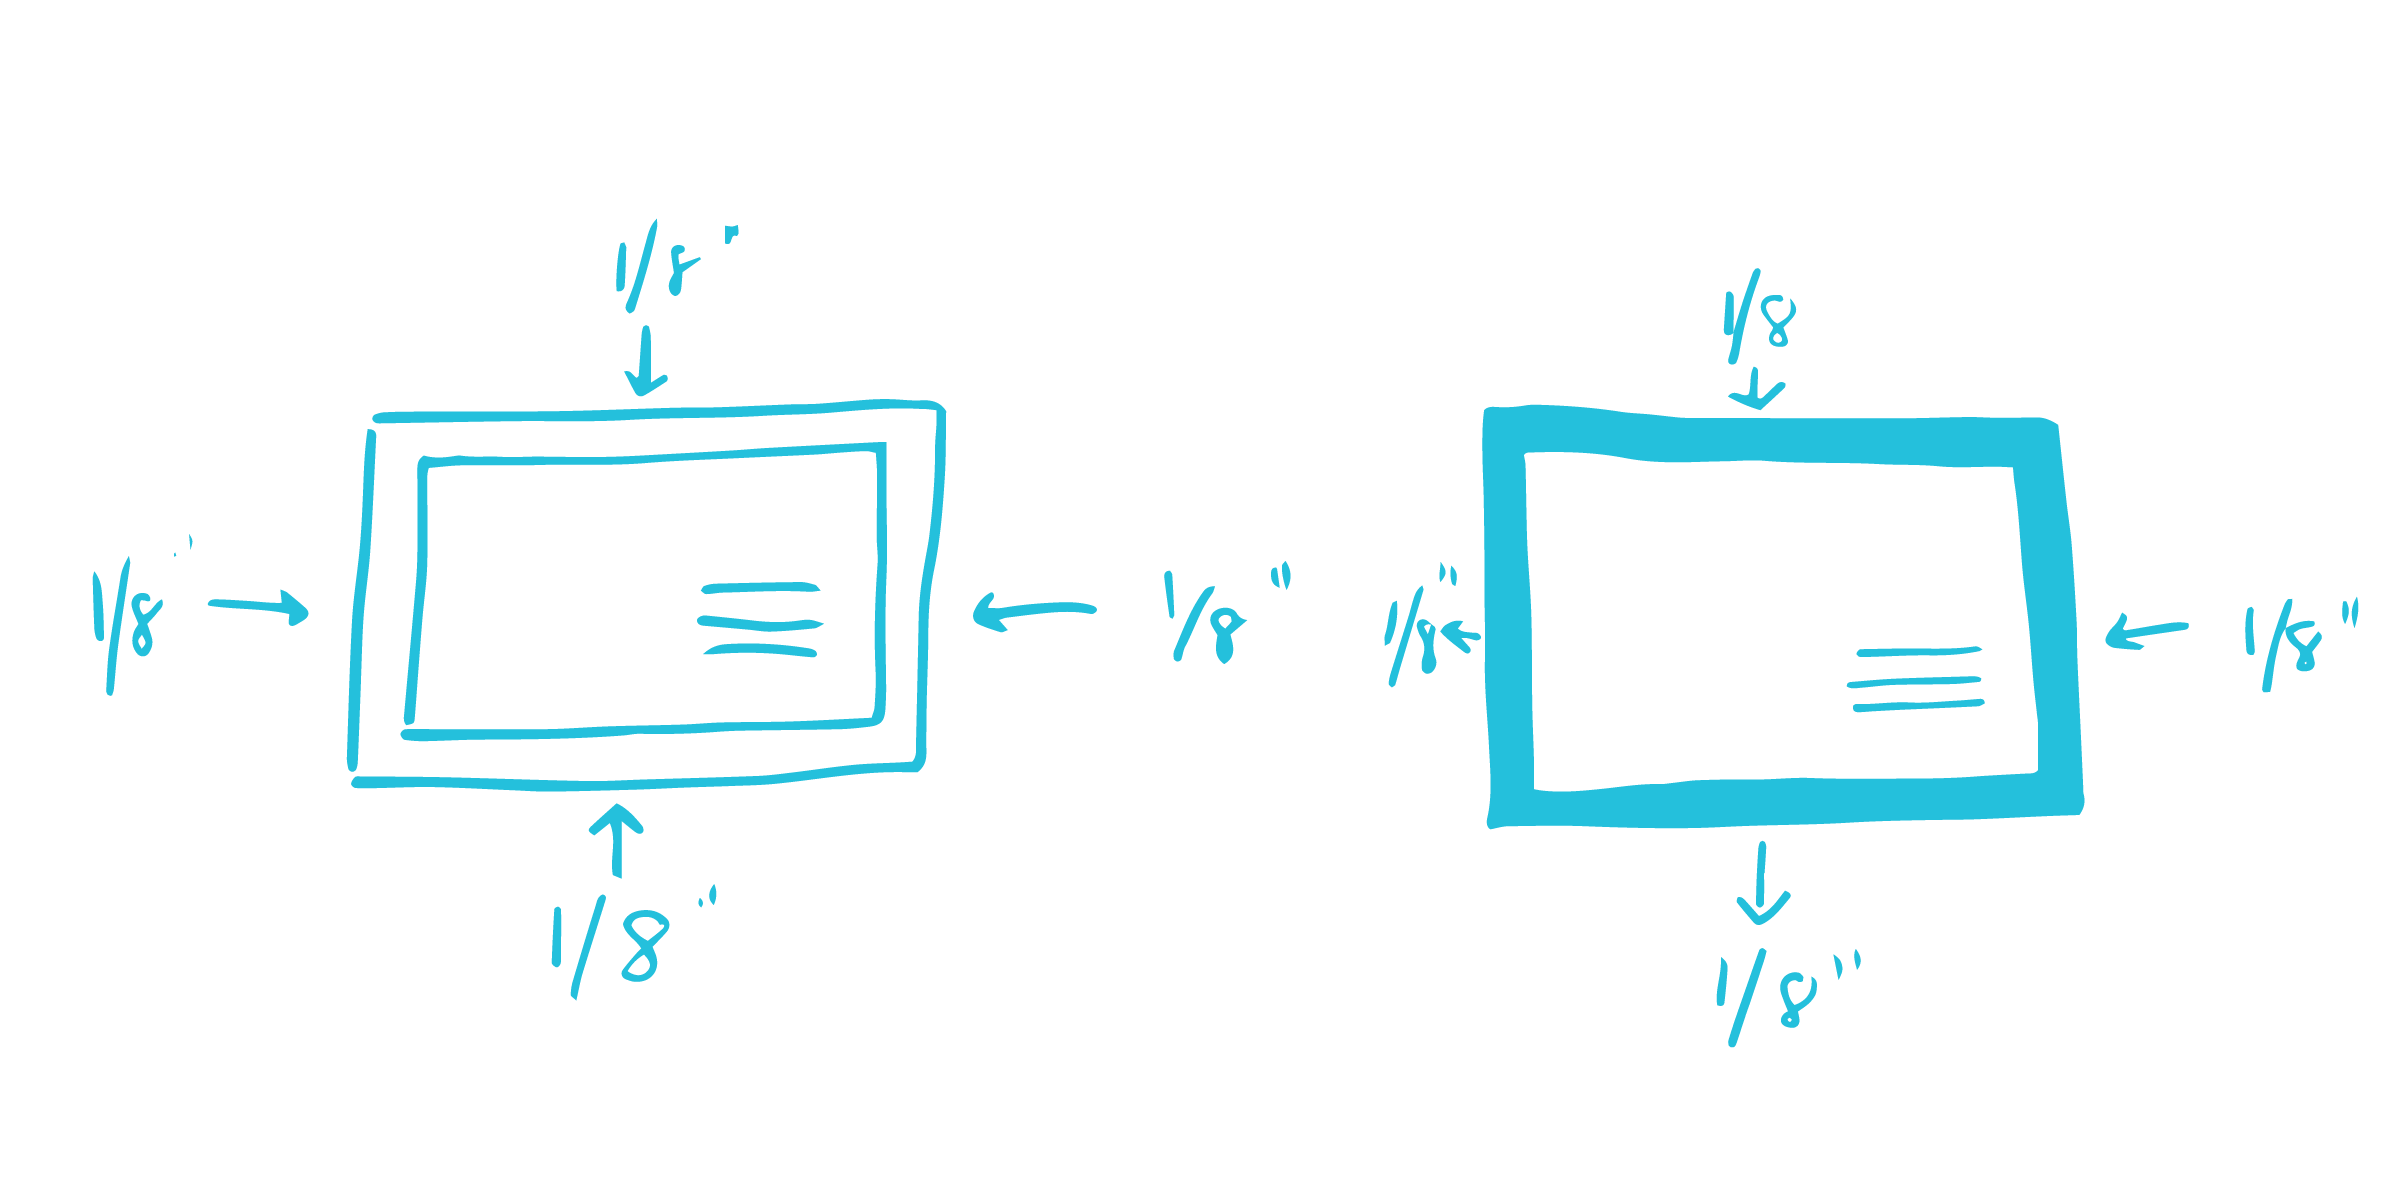
The best way to ensure your borders look perfect even with the shift is to give us an 1/8 of inch space around any piece. This will make sure of two things:
- It will allow us to account for the shift better and make sure the space around the border is consistent on all sides.
- It will ensure that the border doesn’t get cut off on any sides by accident
Another important thing to remember is to add bleeds! This will also even more wiggle room to make sure everything is perfect for you. If you need help setting up bleed, you can follow the step-by-step instructions here.